To use a concrete screed effectively, begin by cleaning the surface and ensuring it’s damp but not drenched. Establish accurate reference points and select the right screeding method—either wet or dry. Use suitable tools, such as manual or laser screeds, based on your area. Regularly check levels as you pour, and remove timber dividers afterwards to ensure a smooth finish. Follow these steps for accuracy, and you’ll discover more valuable tips and common mistakes to steer clear of.
Key Takeaways
- Clean and dampen the concrete surface to improve bond and minimise air pockets during screeding.
- Establish accurate reference points and utilise laser levels to ensure precision in achieving a level finish over larger areas.
- Select the appropriate screeding method and equipment, such as manual, powered, or laser screeds, depending on the size and conditions of the project.
- Keep an eye on and adjust reference points throughout the pouring process to maintain levelness and avoid defects.
- Adhere to proper curing techniques to retain moisture and prevent shrinkage cracking, ensuring long-term durability and quality.
Preparing the Concrete Surface for Screeding
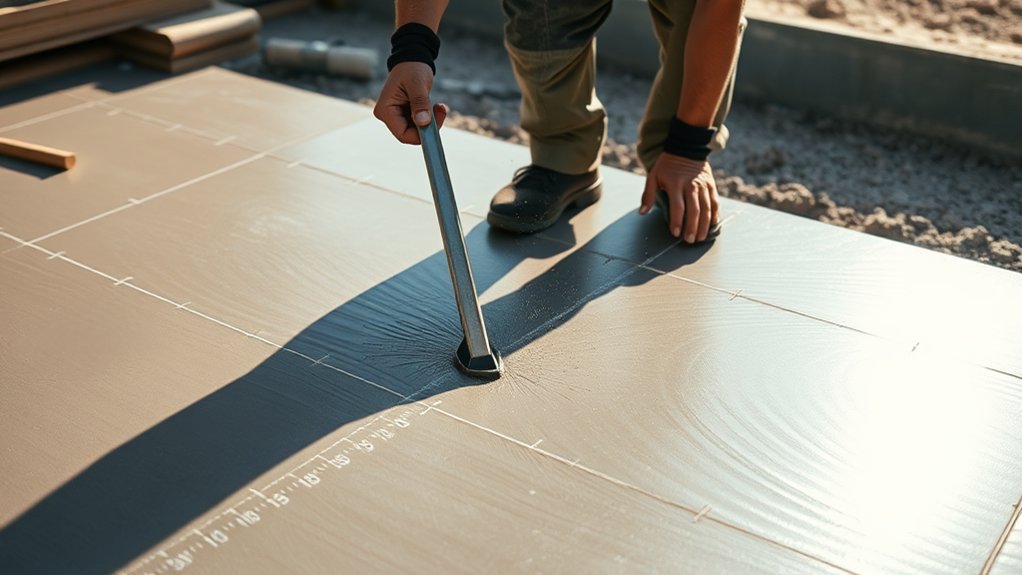
Preparing the concrete surface for screeding is crucial for achieving a strong bond and a level finish. Start by thoroughly cleaning the surface to remove any dirt, grease, or loose material.
Mechanical methods such as shot blasting, grinding, or scarifying can help create a clean, profiled surface. Shot blasting is effective for eliminating laitance, while grinding with diamond pads can help level out any high spots or coatings. Properly mixed screed ensures even heat distribution, which is vital for optimal performance in underfloor heating systems.
Once the surface is clean, check for proper moisture management; it should be damp but not soaked. Spraying a light mist of water can help maintain the right conditions without causing pooling. Using a power screed not only enhances the efficiency of the screeding process but also ensures a smoother and more consistent finish.
This meticulous preparation not only enhances the bond of the new concrete layer but also allows you to spot and fill any low areas, ensuring a smooth screeding process and optimal results.
Understanding Different Screeding Techniques

Understanding different screeding techniques is essential for achieving quality results in concrete finishing. There are two main types: wet and dry screeding, each suited to specific conditions.
Wet screeding is best for large pours or in hot weather, requiring a well-balanced mix to avoid quick hardening. For example, if you’re working on a big driveway in summer, wet screeding would be the way to go. This technique is crucial for ensuring proper installation of flooring materials, as it levels off irregularities effectively and provides a smooth, stable surface for flooring finishes.
On the other hand, dry screeding is ideal for colder temperatures and smaller volumes. It typically uses simple tools like shovels and levelling boards, making it accessible for DIY projects.
When deciding between manual and power screeding, consider that power screeds can significantly reduce air pockets and enhance slab uniformity. If you want a smoother surface, vibrating screeds are effective, while laser-guided screeds ensure remarkable precision, especially on larger jobs.
Choosing the Right Screed Tools

Choosing the right screed tools is crucial for achieving the best results in your concrete projects, as each type has its own benefits suited to different tasks.
- Manual Screeds: Lightweight and ideal for smaller jobs, they offer precision for detailed work.
- Power Screeds: These tools increase efficiency with vibration, making them suitable for medium-sized areas. They reduce labour and enhance compaction.
- Laser Screeds: Known for their speed and precision, laser screeds can level large pours quickly, covering approximately 240 sq ft per minute. Proper surface preparation is essential to prevent uneven settling during the curing process.
- Truss Screeds: Designed for larger projects, they’re expandable and provide rigidity along with effective vibration for a smooth finish.
Choosing the right tool not only affects the quality of your work but also enhances the efficiency and cost-effectiveness of your concrete projects.
Essential Screeding Equipment and Tools

When undertaking a concrete project, having the right tools is crucial for achieving a top-notch finish.
Vibratory and roller screeds improve density and uniformity, making them perfect for larger jobs. Power trowels are essential for smoothing and polishing the surface, while tampers and dapple bars effectively break surface tension and eliminate air pockets.
Don’t overlook manual tools like truss screeds and bull floats for accurate levelling. Supporting equipment, such as laser levels and screed levelling tripods, ensures consistent results. Proper screeding techniques will further enhance the quality of your finished concrete.
Proper maintenance and storage of your tools will extend their lifespan. Choosing the right equipment will enhance your workflow and elevate the quality of your concrete finish.
Achieving Levelness With Reference Points

To achieve a level concrete surface, it’s essential to set accurate reference points before pouring. These benchmarks help you monitor and adjust throughout the process.
- Use laser levels for precise measurements over larger areas.
- Distribute reference points evenly across the floor.
- Continuously check these points against the concrete during pouring.
- Apply slope adjustment methods to ensure proper drainage.
The Importance of Surface Monitoring
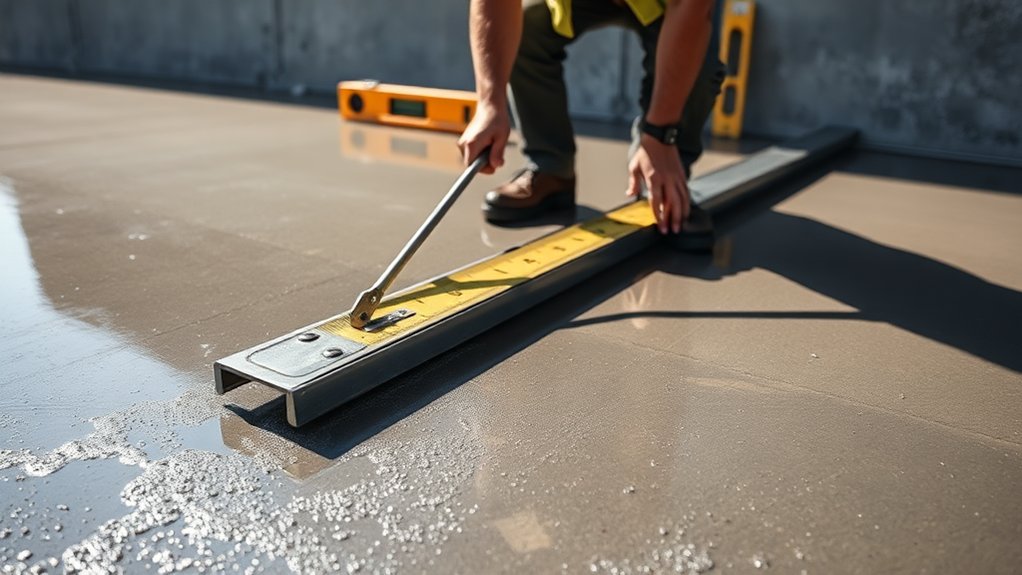
When working with concrete screeds, it’s crucial to carry out a visual inspection of the surface to spot any flaws that might impact the final outcome.
Using consistent reference points allows you to check the levelness of the surface and ensure uniformity throughout the installation.
Staying vigilant in monitoring the surface can significantly improve the durability and functionality of your screed.
Visual Surface Inspection
Visual surface inspection is vital for maintaining the integrity and quality of concrete structures. Regular inspections allow for early detection of defects, helping to avoid expensive repairs down the line.
Here are some key points to consider:
- Surface Cleanliness: Ensure surfaces are free of dirt and debris to spot defects accurately.
- Lighting Conditions: Check that the area is well-lit to identify small cracks or damage easily.
- Camera Usage: Employ high-resolution cameras for capturing details in difficult-to-reach spots.
- Surface Roughness: Evaluate the smoothness of the surface, as it can affect future treatments.
By incorporating these techniques, you can enhance quality control, improve safety, and ensure the structural integrity of your concrete.
Consistent Reference Points
Consistent reference points are vital for the accuracy and quality of the screeding process. Start by establishing stable benchmarks or reference markers to ensure consistent leveling. Use laser levels or string lines as reliable guides, and regularly check these points to avoid any deviations due to movement or settling.
It’s also helpful to mark critical elevations clearly on-site plans for quick reference.
Incorporate moisture assessment by using hygrometer boxes or RF detectors to measure moisture content before and during screeding. This information aids in choosing the right drying strategies, which is crucial for maintaining surface stability.
Lastly, keep reference points clean and undisturbed to ensure their accuracy, maximising your screeding results for a flat, durable surface.
Post-Screeding: Finishing Techniques

While the screeding process sets the stage for your concrete surface, effective post-screeding techniques are crucial for a durable and attractive finish.
- Use bull floats to embed aggregates and smooth out any ridges.
- Employ edging tools to compact the edges, which helps prevent chipping.
- Apply polishing methods with diamond abrasives for a glossy appearance.
- Create textured finishes to improve slip resistance and overall aesthetics.
Timing is key; utilise floating techniques as soon as the bleed water has evaporated to avoid defects.
Keep an eye on surface flatness and make adjustments as necessary. Incorporate edging and jointing to enhance durability and guide potential cracks.
Proper Curing Methods for Screeded Surfaces
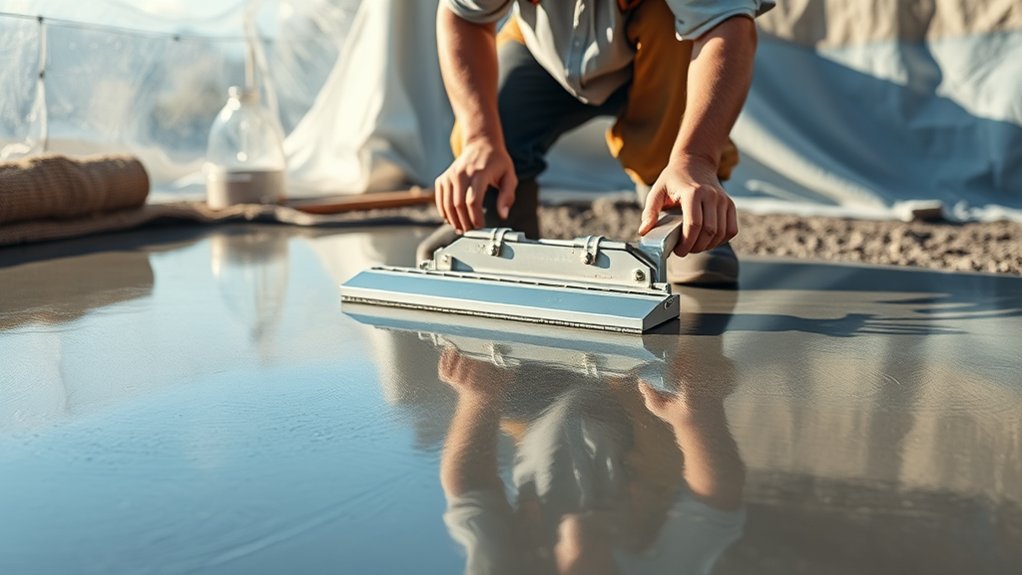
When curing screeded surfaces, it’s crucial to adhere to specific time guidelines to ensure optimal strength development.
Use effective moisture retention techniques and manage temperature carefully to avoid issues like shrinkage cracking.
For example, covering the surface with wet hessian or plastic sheeting can help retain moisture.
Curing Time Guidelines
Curing time is essential for ensuring the durability and strength of your screeded surfaces. Proper curing methods can significantly impact the final outcome, so it’s important to understand the techniques involved and how environmental factors can affect your project.
- Traditional sand-cement screed typically requires 7-10 days per centimetre in favourable conditions.
- For screeds thicker than 4 cm, expect curing times to double for each additional centimetre.
- Extreme temperatures and humidity can speed up or slow down the curing process.
- Using special admixtures can significantly reduce curing times, making your project more efficient.
Moisture Retention Techniques
How can you maintain moisture during the curing process of your screeded surfaces? Effective moisture management is vital for optimal strength development. Here are some straightforward curing methods:
| Method | Description |
|---|---|
| Sprinkling | Regularly spray water to keep the surface damp. |
| Wet Coverings | Use damp burlap or canvas to retain moisture. |
| Membrane Curing | Apply liquid compounds to create a moisture-retaining layer. |
Select a method that fits your project’s environment, and keep an eye on moisture levels to avoid drying out and ensure thorough hydration. Combining these strategies can be particularly beneficial in extreme weather, helping your screeded surface achieve the durability it needs.
Temperature Considerations
Maintaining the right temperature during the screeding process is crucial for achieving optimal results. Incorrect conditions can lead to bonding failures and weakened strength.
Here are some key points to ensure the durability of your screed:
- Keep ambient temperatures between 5°C and 25°C to avoid deterioration.
- Monitor temperatures closely to prevent rapid surface drying when exceeding 25°C.
- Store materials in shaded, cooler areas to reduce heat exposure.
- If using underfloor heating, gradually increase temperatures, starting at 25°C.
Removing Timber Dividers for a Seamless Finish

Once the screed has been applied and is partially set, you can remove the timber dividers for a seamless finish. Timing is crucial for this step. Carefully pull the dividers upwards to avoid damaging the surface. After removal, fill any gaps with the same screed mix to ensure consistency. Clean the area around the dividers to keep the surface smooth. Finally, conduct a thorough inspection to check for any imperfections.
| Step | Action |
|---|---|
| 1. Moistening | Wet the dividers |
| 2. Divider Removal | Pull gently |
| 3. Gap Filling | Use screed mix |
| 4. Cleaning | Clear debris |
| 5. Final Inspection | Check for imperfections |
Professional Considerations for Screeding

When screeding concrete, your training and experience are crucial for achieving a quality finish.
Using the right tools and techniques not only improves efficiency but also ensures a smooth surface.
If the project requires specialised skills, it may be wise to hire professionals for the best results.
Training and Experience
Proper training is crucial for success in screeding, but hands-on experience is just as important. Effective training methods blend practical learning with theoretical knowledge to prepare you for real-world applications.
- Structured curriculums covering the essentials of concrete construction
- Machine readiness simulations that replicate actual job site conditions
- Practical drills in safe environments to sharpen your skills
- Specialised certifications for advanced techniques and career progression
Attending industry conferences and seeking mentorship can further enhance your expertise. Ongoing learning through workshops and keeping up with industry publications ensures you stay updated with the latest in screeding technology, allowing you to tackle challenges effectively and safely.
Equipment and Techniques
Choosing the right equipment and techniques for screeding is vital for a quality concrete surface. There are various types of screeds available, such as manual, power, roller, truss, and laser screeds, each designed for specific tasks.
Power and truss screeds use vibration to help settle the concrete and eliminate air pockets, but be careful—too much vibration can cause uneven distribution of aggregates.
Roller screeds spin to provide consistent results and reduce operator fatigue, making them a good choice for larger areas. For accuracy, laser screeds offer precise elevation control without relying solely on vibration, ensuring a uniform thickness throughout.
To achieve the best finish, it’s essential to prepare the forms properly, position the blades correctly, and control the speed of the screed. These techniques are crucial for maintaining accuracy in your concrete projects.
Hiring Specialized Professionals
Hiring specialised professionals for concrete screeding is vital for achieving a quality finish and meeting project specifications.
To ensure you select the right contractor, consider the following key qualifications:
- Licences and Certifications: Check that they possess the necessary qualifications to comply with UK regulations.
- Experience: Look for contractors with a solid track record in handling complex screeding projects, as this can impact your overall timeline.
- Insurance: Ensure they’ve adequate insurance to protect against any unforeseen issues.
- Customer Reviews: Read feedback and ask for references to assess the quality of their previous work.
Common Mistakes to Avoid in Screeding

When screeding, steering clear of common mistakes can significantly improve the quality and longevity of your project. It’s essential to monitor screed density and moisture levels to avoid potential issues.
| Mistake Type | Common Mistakes | Consequences |
|---|---|---|
| Preparation | Inadequate surface prep | Poor adhesion |
| Mixing | Wrong mixing ratio | Inferior screed quality |
| Application | Overworking the screed | Weakened compaction |
| Compaction | Insufficient compaction | Air pockets |
| Installation | Installing flooring too soon | Swelling and buckling |
For instance, if the surface isn’t properly prepared, the screed may not bond well, leading to cracks down the line. Similarly, using the wrong mixing ratio can compromise the strength of your screed, resulting in a subpar finish. Always ensure adequate compaction to avoid air voids, which can weaken the structure. Keeping these points in mind will help you achieve a durable and reliable screed.
When to Hire Professionals for Screeding Jobs

Knowing when to hire professionals for a screeding job can make all the difference. Here are some key situations when it’s wise to bring in the experts:
- If you’re dealing with large floor areas that need to be levelled accurately.
- When the project features complex designs or unique shapes.
- If you require different types of screeds, such as traditional or self-levelling.
- When precise levelness and smoothness are crucial for the success of the job.
Engaging professionals ensures that your project is evaluated correctly, which enhances durability and structural integrity.
They utilise advanced equipment, which helps to eliminate issues like air pockets and voids.
Their expertise not only delivers excellent results but also reduces waste, making the job more cost-effective.
Ultimately, hiring professionals is key to achieving a flawless finish on your screeding project.
Frequently Asked Questions
Can I Screed Concrete in Cold or Rainy Weather?
You shouldn’t screed concrete in cold or rainy weather without taking precautions. In cold conditions, be mindful of temperature limits, while rain can affect water ratios, leading to weak curing. Always protect your screed from both elements to achieve the best results.
How Thick Should the Screed Layer Be?
Consider a solid base for your aspirations. For optimal screed thickness, aim for at least 25mm for bonded applications and 50mm or more for unbonded ones. Always take into account the condition of the subfloor and the type of application when making adjustments.
What Is the Best Time to Screed After Pouring Concrete?
You should wait until the concrete has reached its initial set to determine the best time for screeding, usually within a few hours. Keep an eye on the curing process, ensuring optimal conditions for effective screeding and a high-quality finish. For instance, if you’re working in warmer weather, the setting time might be quicker, so be ready to screed sooner.
How Do I Fix Low Spots After Screeding?
To fix low spots after screeding, start by assessing the affected area and cleaning it properly. Then, apply suitable levelling methods, such as cement patching compounds. For a smooth, even finish, utilise effective screeding techniques.
Can I Use a Screed Board for Decorative Finishes?
Using a screed board for decorative finishes is akin to using a paintbrush for sculpting! While it’s crucial for achieving a level surface, you’ll require additional techniques to create those eye-catching details and textures afterwards.
Conclusion
In summary, mastering concrete screeding is crucial for achieving a smooth surface. A mere 1/8-inch difference in level can result in an uneven floor over just 10 feet, which is something to avoid. By following the techniques and using the right tools, you can ensure accuracy and longevity in your projects. Take your time to steer clear of common mistakes, as this will save you from expensive repairs later on. If you’re unsure, don’t hesitate to seek advice from a professional for the best outcomes.
Looking to order ready-mix screed? Barrow Mix supplies flowing and traditional screed, mixed fresh across Greater Manchester & Cheshire.
Get a free quote →
Concrete ordering made easy: discover essential steps, tips, and strategies to ensure your project is a success—don't miss out on Read more

To determine the right quantity of ready-mix concrete for your project, follow these essential steps and uncover expert tips that Read more

Just follow these essential steps to pour ready-mix concrete and achieve flawless slabs and foundations, but there's more to uncover Read more