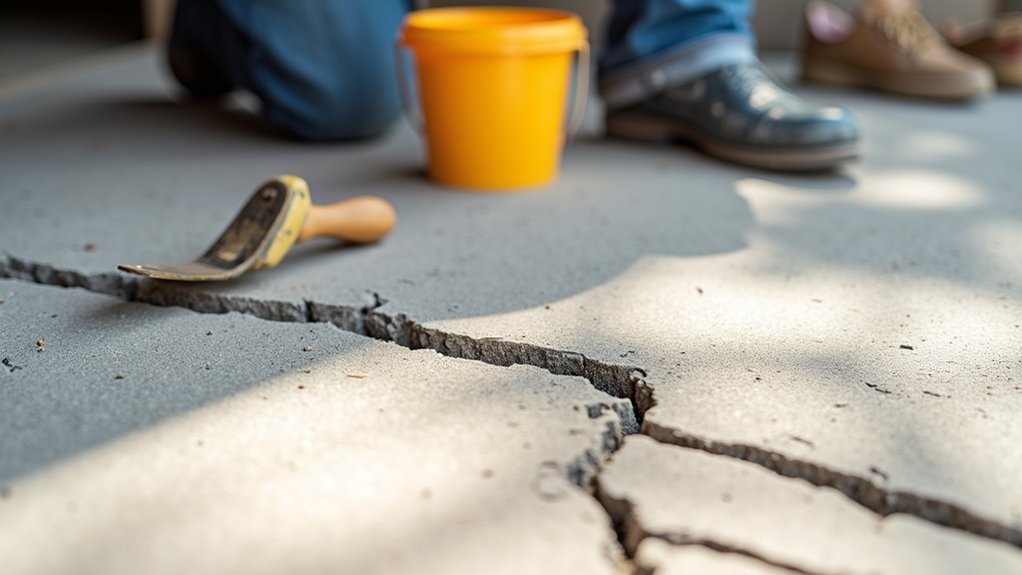
To repair cracked concrete in your driveway, begin by identifying the type of crack and measuring its width and depth. Clean the area thoroughly to prepare the surface for bonding. Use appropriate materials: liquid fillers for hairline cracks and epoxy for medium-sized ones. For larger cracks, remove the damaged concrete and fill the void with gravel before applying a patch. After repairs, seal the driveway every few years to prevent further damage. Keeping your driveway well-maintained can save you money in the long run.
Key Takeaways
- Identify the types and severity of cracks by measuring their width and depth before selecting a repair method.
- Thoroughly clean the cracked area, removing dust and debris to ensure good adhesion.
- Choose the right repair materials: use liquid fillers for hairline cracks and patching compounds for larger ones.
- Apply the selected repair technique, allowing adequate curing time before using the driveway again.
- Set up a regular maintenance schedule to check for new cracks and seal the surface every few years.
Identifying Crack Types and Assessing Severity
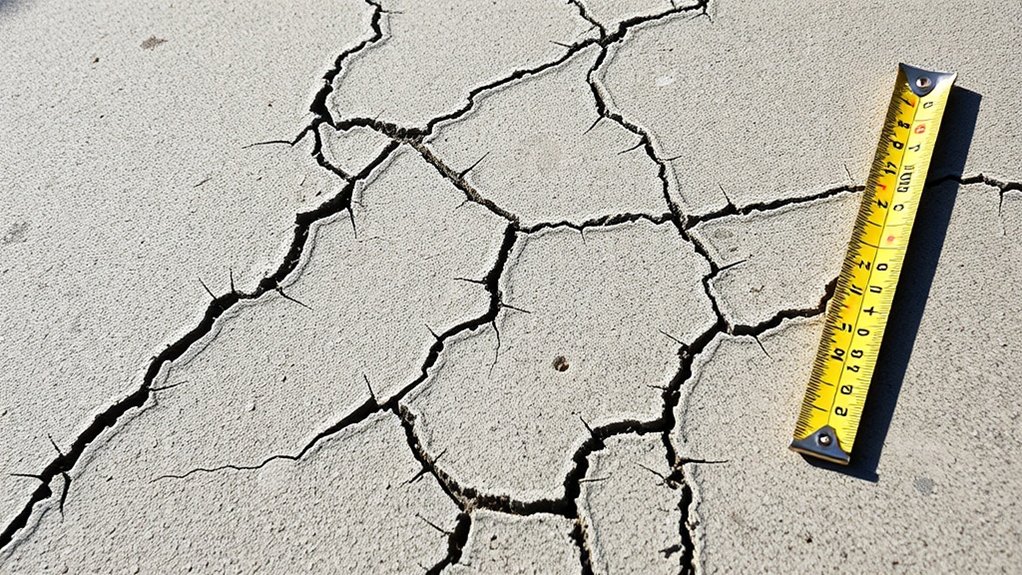
When you spot cracks in your concrete driveway, it’s important to identify the type and assess their severity to decide on the best repair method.
Start by categorising the cracks into types: hairline, plastic shrinkage, settlement, crazing, or expansion. Then, evaluate the severity by measuring the width and depth. Cracks less than 0.3 mm usually indicate minor issues, while those over a few millimetres could signal structural problems. Notably, settlement cracks occur when the ground beneath concrete moves or settles, which can be more concerning than other types. Proper drainage can help mitigate some of the risks associated with moisture infiltration.
Observe the crack patterns: vertical and diagonal cracks often point to shrinkage or settlement, whereas horizontal cracks may suggest soil pressure.
Keep an eye on any changes over time, as active cracks might indicate ongoing issues that need immediate attention. Document your findings to prioritise repairs and tackle any underlying problems swiftly.
Surface Preparation for Effective Repair
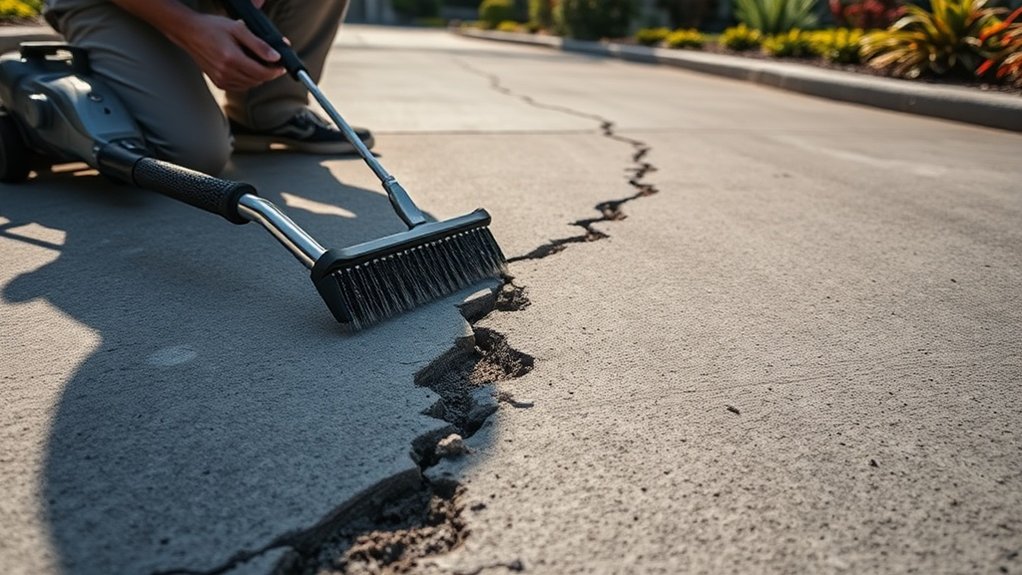
After identifying the types and severity of cracks in your driveway, the next step is to prepare the surface for effective repair.
Begin by thoroughly cleaning the area to remove dust, debris, and oils. A pressure washer or a rotary floor scrubber can help you efficiently eliminate contaminants. If there are any sealers present, strip them away using chemical strippers or mechanical methods, ensuring the surface is free from residues that could prevent proper bonding.
Next, you’ll want to create a concrete surface profile (CSP) to improve mechanical bonding. This can be achieved through shot blasting or grinding to reach a CSP of 3 to 5, ensuring the surface is adequately roughened. Surface preparation is essential for the application of bonding agents and ensures the longevity of the repair. Proper quality control during this stage helps mitigate issues like segregation that could compromise the repair’s effectiveness.
Lastly, check the surface for moisture; excess dampness can weaken the adhesion of bonding agents.
Selecting the Right Materials and Tools
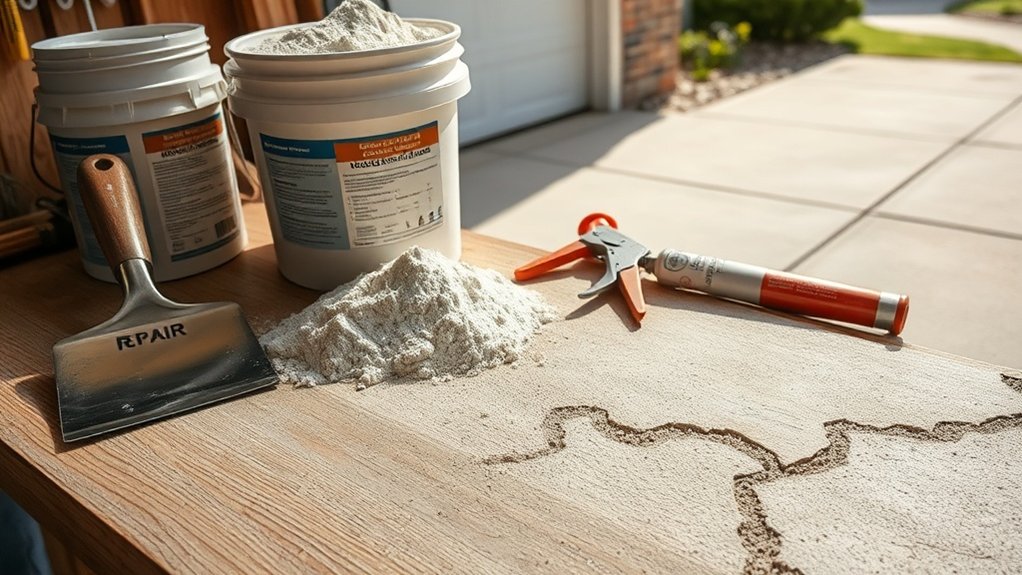
Choosing the right materials and tools is crucial for a lasting repair of cracked concrete driveways. Start by ensuring compatibility: use liquid crack fillers for small cracks and concrete patching compounds for larger ones. Flexible polyurethane caulk is ideal for joints, while epoxy-based fillers are best for high-traffic areas. For tools, a caulking gun makes it easier to apply fillers, and trowels or putty knives help achieve a smooth finish. Remember to wear safety gear—goggles, gloves, and dust masks are essential to protect yourself. Additionally, understanding concrete cracks can help you choose the appropriate materials to effectively address varying damage levels. Before you start, clean the area thoroughly with a stiff-bristle wire brush and a vacuum. Proper surface preparation is essential to ensure that the repair materials adhere effectively and provide a durable solution.
Repair Techniques for Various Crack Sizes
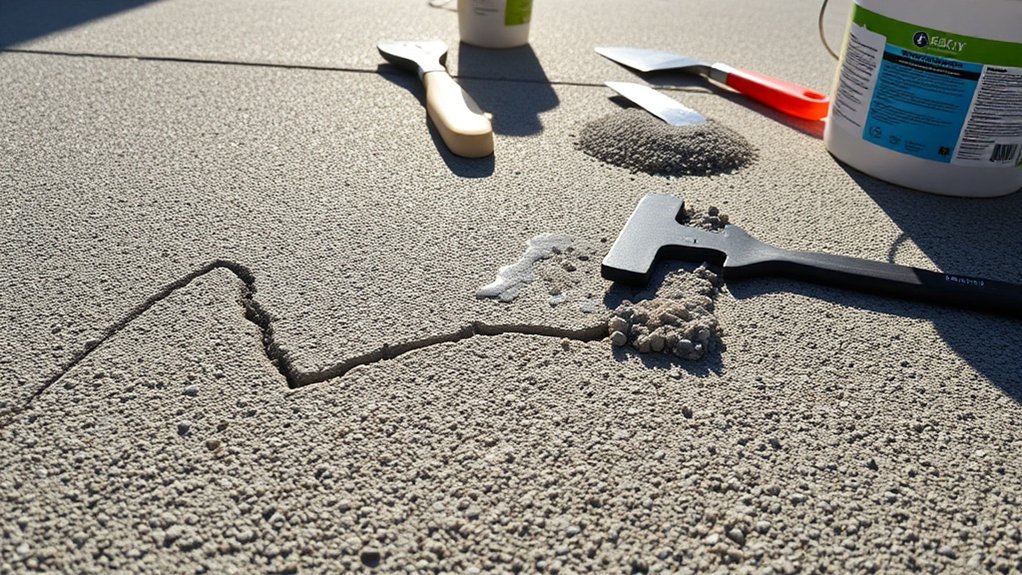
Repairing cracked concrete driveways requires specific techniques based on crack size.
For hairline cracks (up to 3mm wide), clean the area and apply a liquid or caulk crack filler with a putty knife.
For medium cracks (3mm to 12mm), pre-clean and drill injection ports for epoxy injection, using a specialised gun to inject high-strength epoxy from the lowest point.
For larger cracks (over 12mm), remove damaged sections, clean thoroughly, and fill the base with gravel before applying a concrete patching compound.
Always allow each repair to cure fully before use.
Keep an eye out for future issues and consider using backer rods for deeper cracks to improve sealing effectiveness.
Maintenance Tips to Prevent Future Cracks
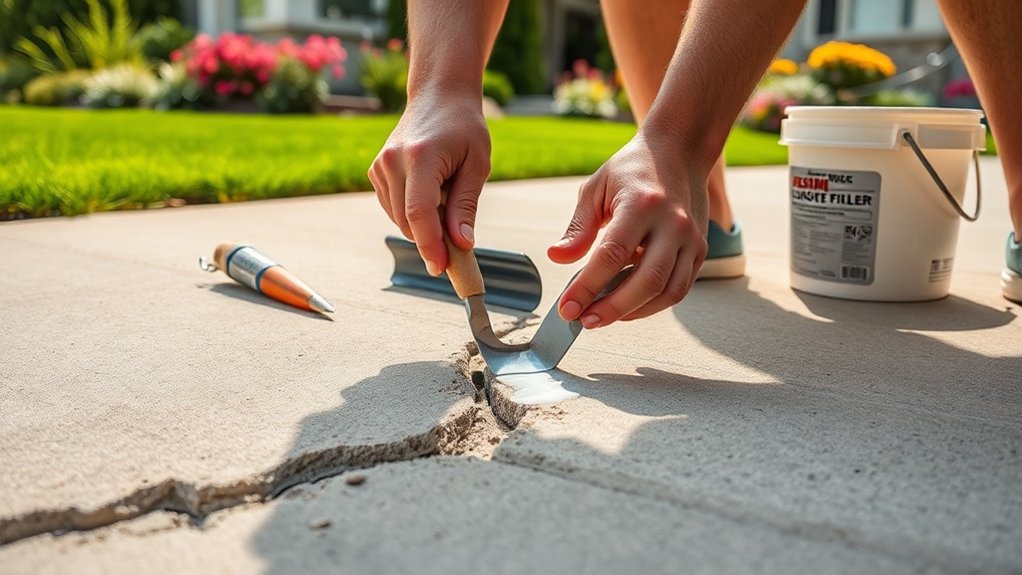
To keep your concrete driveway in good shape and prevent future cracks, regular maintenance is essential. Set up a maintenance schedule that includes frequent removal of debris to minimise surface wear.
Use pH-neutral cleaners and pressure wash carefully to clean without causing damage. Seal your driveway every 2 to 3 years with a suitable sealer to create a protective barrier against moisture and stains.
Be cautious about load management; avoid parking heavy vehicles to lessen stress on the concrete. Ensure proper drainage to prevent water pooling and consider your landscaping to avoid root damage.
Finally, clear snow promptly using plastic shovels and regularly inspect for cracks to tackle issues before they escalate—these steps are vital for effective crack prevention.
Frequently Asked Questions
How Long Does Concrete Repair Typically Last?
Concrete repairs usually last between 5 and 20 years, depending on the type of repair and how well it’s maintained. To maximise the lifespan of your repairs, it’s important to seal any cracks, regularly pressure wash the surface, and protect it from heavy traffic. Simple maintenance can significantly enhance durability and prolong the life of your concrete.
Can I Paint Over Repaired Concrete Immediately?
You can’t paint over repaired concrete straight away; it needs to dry completely for 24 to 48 hours. For a lasting finish, ensure proper surface preparation by cleaning and priming the area first. This will help the paint adhere better and achieve a quality result.
What Weather Conditions Are Best for Repairs?
For the best repair results, aim for temperatures between 10°C and 21°C with low humidity. This ensures proper curing and reduces the risk of cracks. Plan your repairs for mild weather to achieve optimal outcomes.
How Do I Know When to Call a Professional?
If you see deep cracks, crumbling edges, or water pooling underneath, it’s time to call in a professional. While DIY fixes can handle minor problems, significant signs of damage need expert evaluation for effective, long-term solutions.
Are There Eco-Friendly Repair Materials Available?
Yes, there are sustainable options for repairs. You can use eco-friendly materials like recycled concrete aggregates and finish with low-VOC sealers to improve durability while reducing environmental impact. These choices ensure effective and responsible maintenance of your driveway.
Conclusion
Once you’ve repaired the cracks in your driveway, it’s important to keep up with maintenance to prevent further damage. Regularly sealing and inspecting your driveway helps protect it from the elements and can significantly extend its lifespan. A well-maintained driveway is essential; otherwise, all your hard work could go to waste. Stay vigilant, and enjoy a smooth ride!

How to effectively repair cracks in ready-mix concrete surfaces starts with understanding the type of crack—discover the best methods for Read more

Step into the world of decorative concrete and discover the stunning types and applications that can transform your space into Read more

Overcoming common concrete problems is essential for durability; discover effective solutions to ensure your surfaces remain intact and visually appealing.