Concrete resurfacing begins with a thorough clean of the surface and the removal of any old coatings. Ensure you fill in cracks and assess any damage before applying a resurfacer in manageable sections. A trowel or squeegee can help you create an even layer, but work quickly to achieve the best results. There are various options available, such as epoxy coatings or decorative overlays, which can improve both durability and appearance. To prolong the life of your resurfaced concrete, regular cleaning and sealing are essential. Explore each step and option to find what suits your needs best.
Key Takeaways
- Begin by thoroughly cleaning the concrete surface and removing any existing coatings to ensure optimal bonding before resurfacing.
- Inspect and repair any damage, such as cracks or gouges, using suitable materials prior to application.
- Apply the resurfacer evenly in small sections, utilising tools like trowels or squeegees for a consistent thickness.
- Select from various resurfacing options, such as epoxy coatings or decorative overlays, depending on the desired finish and durability.
- Keep the resurfaced area in good condition by cleaning it regularly, resealing every 1–2 years, and checking for wear or damage annually.
Preparation for Resurfacing
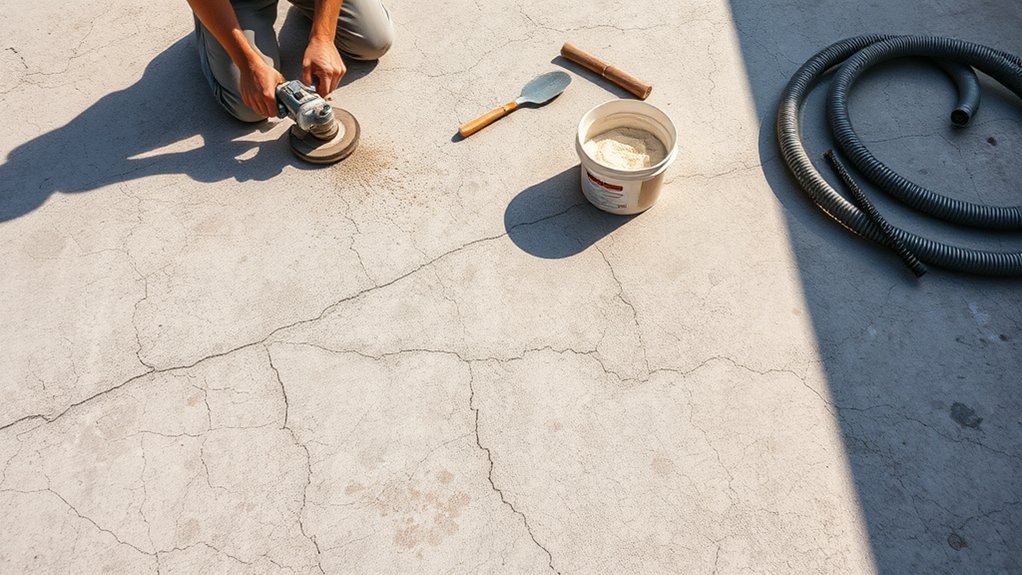
Before you start concrete resurfacing, it’s crucial to prepare the surface properly to ensure a successful job.
Begin by cleaning the surface thoroughly; use a pressure washer to remove any dirt and debris, creating a clean slate. Remember to wear safety gear such as gloves and safety glasses during this step.
Next, remove any existing coatings like paint or sealers to improve bonding. You might need to grind or etch the surface to create a rough texture, which helps the new concrete adhere better. It’s important to note that the surface temperature must be at least 50°F for optimal results during resurfacing. Additionally, proper surface preparation techniques can significantly enhance the adhesion of the new layer.
After these preparations, moisten the surface to avoid water absorption during application.
Lastly, inspect the area carefully to ensure it’s free from defects, setting the stage for effective resurfacing.
Patching and Repair
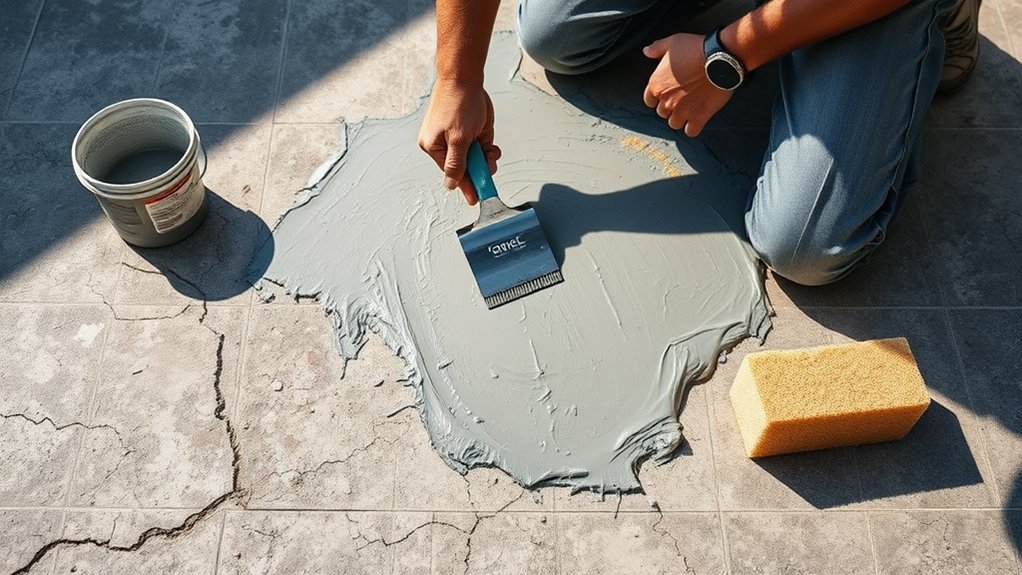
For a successful concrete resurfacing project, it’s crucial to address any existing damage through effective patching and repair.
Begin by thoroughly assessing the area to identify any cracks, gouges, or spalled sections. If the damage is deeper than 6mm (1/4 inch), opt for specialised products like Top’ N Bond to ensure structural integrity. Repairing deeper damage will help create a solid foundation for the resurfacing process. Regular inspections can help identify these issues early on, ensuring concrete deterioration is managed effectively.
When preparing your repair materials, mix one part water with seven parts resurfacer, using a paddle mixer for an even consistency.
Prior to applying the repair material, saturate the damaged area with water, ensuring no standing water remains to help maintain bond strength. Firmly press the repair material into the voids, applying in layers to eliminate air pockets.
Allow sufficient curing time before exposing the area to foot or vehicle traffic to ensure your repairs are durable and long-lasting.
Application of Resurfacer
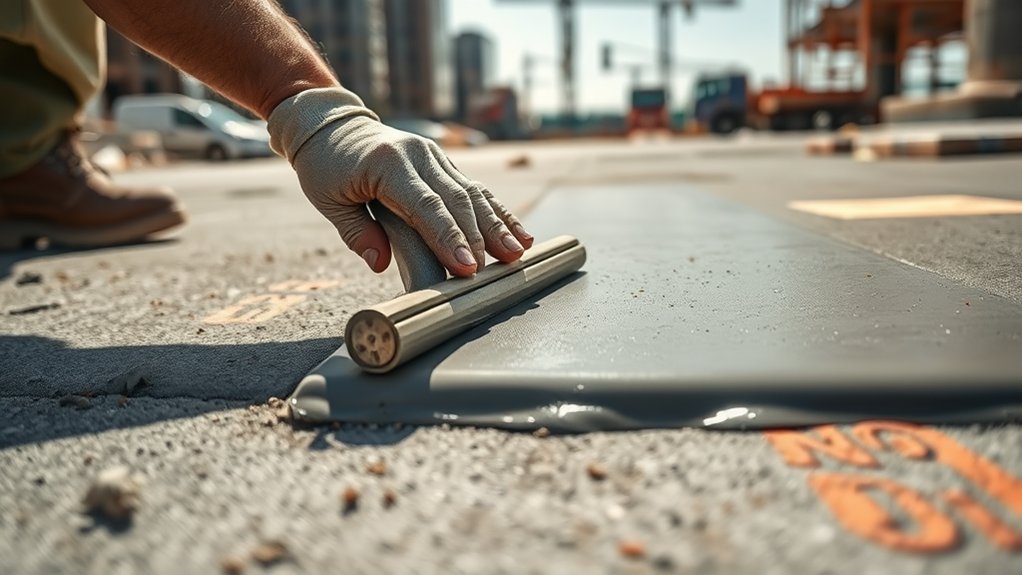
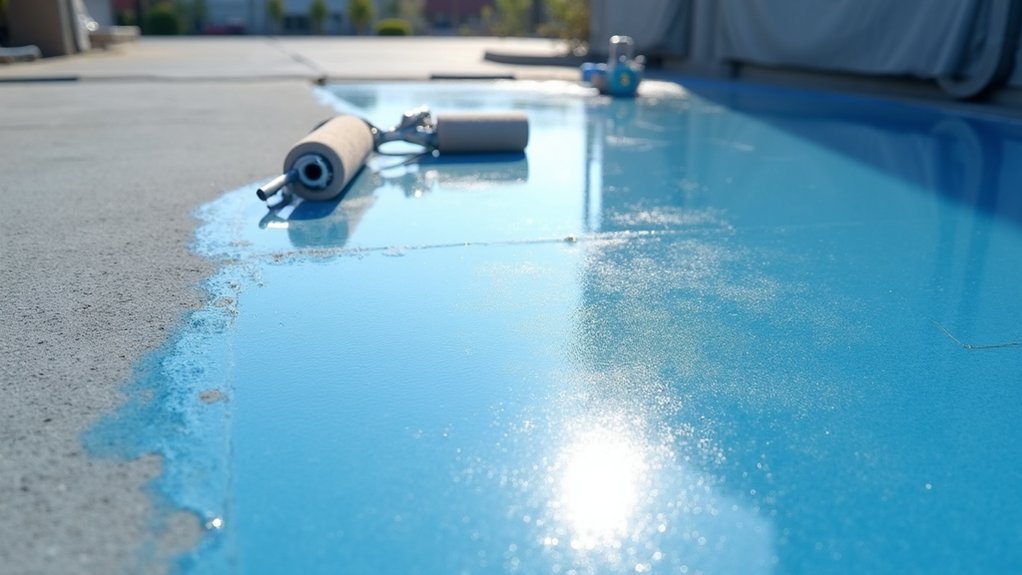
Once you’ve properly prepared the concrete surface and mixed the resurfacer, it’s time to apply it effectively. Pour the resurfacer onto the prepared area in small sections to ensure even coverage. Use tools like trowels or squeegees to spread the material, aiming for a thickness of about 3mm for maximum durability.
Work quickly, as the resurfacer sets rapidly. If you come across joint areas, fill or tape them with peel-and-stick foam weatherstripping to prevent gaps. Remember to mix the resurfacer according to the specified ratios—usually one bag with 3.5 litres to 5.5 cups of water—adjusting as needed for the right consistency.
Additionally, ensure that you power wash the surface before applying the resurfacer to promote better adhesion. Keep a steady flow of application for a smooth, uniform finish.
Types of Resurfacing Options

When exploring concrete resurfacing options, there are several types designed to suit different needs and preferences.
Epoxy coatings are a popular choice thanks to their durability and low maintenance, making them ideal for both indoor and outdoor applications.
If you’re after decorative options, stamped concrete overlays and river rock coatings can introduce unique textures and patterns, enhancing the visual appeal of your space.
For a smooth finish, skim coats or acrylic overlays work well.
If durability is your main concern, consider cementitious flooring or polyurethane toppings, which provide excellent chemical resistance.
Each option has its own benefits, helping you find the right resurfacing solution for your requirements. Additionally, incorporating decorative concrete can elevate the aesthetic of your resurfaced area while ensuring long-lasting beauty.
Post-Resurfacing Care
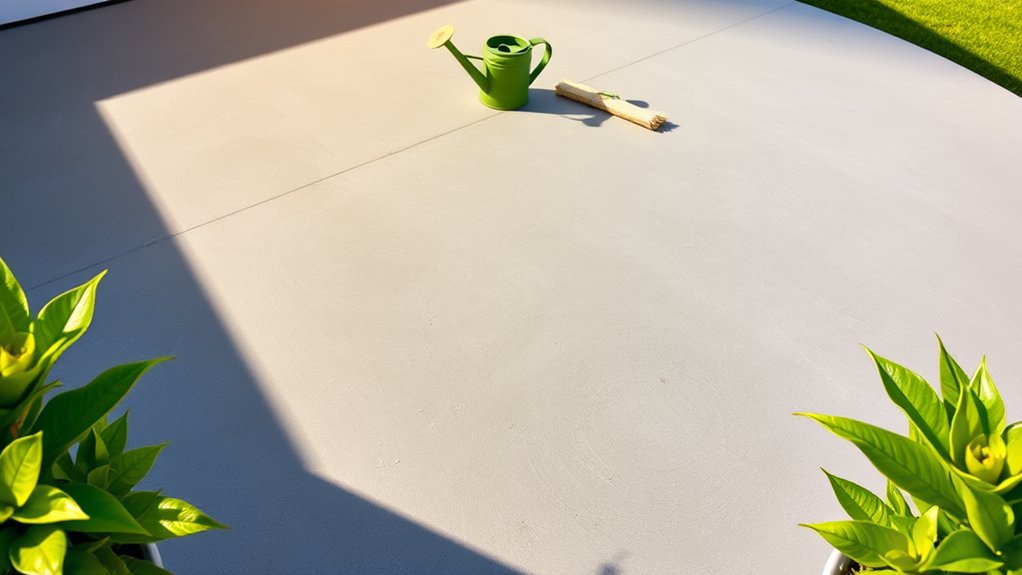
Concrete resurfacing can significantly improve the look and function of your surfaces, but proper care after the process is essential for longevity.
Clean your surfaces weekly by sweeping or rinsing, and deep clean high-traffic areas with a pressure washer every few months. If spills occur, clean them immediately with a mild detergent to avoid stains, and steer clear of harsh chemicals that could damage the surface.
For sealing, it’s best to reseal your resurfaced concrete every 1–2 years with a compatible product, and check it annually for any signs of wear.
Keep an eye out for cracks and fill in any minor ones straight away. Also, ensure that drainage systems are clear to prevent water pooling, which can cause deterioration.
Regular maintenance will help keep your surfaces looking great for years to come.
Frequently Asked Questions
How Long Does Concrete Resurfacing Typically Last?
Concrete resurfacing generally lasts between 8 to 15 years. However, with proper maintenance—like regular cleaning and sealing—you can extend its lifespan to around 20 years, particularly in harsher climates or busy areas. For example, if you live in a location with heavy rainfall or a lot of foot traffic, keeping up with maintenance will pay off in the long run.
Can I Resurface Concrete in Cold Weather?
Yes, you can resurface concrete in cold weather, but it’s important to take certain precautions. Ensure the surface is properly prepared: remove any ice, check for moisture, and use materials that are suitable for low temperatures. This will help ensure a strong bond and enhance the durability of the surface.
What Causes Resurfacer to Peel or Flake?
Resurfacer peels or flakes primarily because of poor surface preparation, which can result in adhesive failure. If the surface isn’t adequately cleaned, or if contaminants and old coatings remain, the new layer won’t bond properly. For example, if you try to paint over a greasy kitchen wall without cleaning it first, the paint will likely start to peel. Similarly, not roughening the surface can weaken adhesion, increasing the chance of peeling as time goes on.
Is Resurfacing a DIY Project or Should I Hire a Professional?
While DIY may appear to save you money, it’s essential to consider your skill level and the complexity of the task. Hiring a professional ensures a quality finish and long-lasting results, potentially saving you from costly repairs down the line. Think carefully about the costs of DIY versus hiring an expert. For example, if you’re resurfacing a driveway, a professional will have the right tools and experience to avoid common pitfalls.
How Can I Tell if My Concrete Needs Resurfacing?
You can determine if your concrete needs resurfacing by checking for cracks and any discolouration on the surface. If you notice large cracks or significant colour changes, it’s often a sign of deeper issues that need addressing promptly to avoid further damage. For example, if your driveway has cracks wider than 5mm or if the surface appears uneven or stained, it’s advisable to consider resurfacing.
Conclusion
Concrete resurfacing is akin to giving your driveway a fresh coat of paint—it’s both transformative and revitalising. By properly preparing the surface, patching any damage, and applying the right resurfacer, you can restore both strength and aesthetic appeal to your concrete. Just as a gardener nurtures their plants, taking care of your resurfaced concrete ensures it stays in good condition. Embrace the resurfacing process, and watch your once dull grey slab turn into a vibrant surface that can withstand the elements for years to come.

Step into the world of decorative concrete and discover the stunning types and applications that can transform your space into Read more

Overcoming common concrete problems is essential for durability; discover effective solutions to ensure your surfaces remain intact and visually appealing.
Discover essential techniques for sealing concrete that can prevent damage, and learn the crucial steps that could save your surfaces Read more