We'll guide you through the underfloor heating installation process, a systematic approach that transforms your home's comfort and energy efficiency.
It begins with selecting either a wet or electric system, followed by thorough property assessment and planning.
We'll cover subfloor preparation, insulation installation, and the precise laying of pipes or electric mats.
Connecting to the heat source, testing, and commissioning are essential steps to guarantee peak performance.
Finally, we'll explain how to properly install your chosen flooring over the heating system.
By understanding each phase, you'll be well-equipped to navigate this complex yet rewarding home improvement project.
Key Takeaways
- Choose between wet or electric underfloor heating systems based on property assessment and expert consultation.
- Prepare the subfloor by cleaning, installing damp-proof membrane, and laying insulation boards for optimal efficiency.
- Install pipes or electric mats with proper spacing and secure them to prevent movement during screed application.
- Connect the system to the heat source, ensuring proper alignment and conducting pressure tests for integrity.
- Test and commission the system, then allow screed to dry before installing compatible final flooring materials.
Types of Underfloor Heating Systems
Understanding the types of underfloor heating systems is essential before beginning any installation process. We'll focus on two primary categories: wet (hydronic) systems and dry (electric) systems.
Wet systems circulate heated water through pipes, making them ideal for larger spaces. They provide uniform heat distribution and typically connect to a central heating system via a manifold. These systems offer lower running costs over time, making them suitable for extensive projects. The energy efficiency of wet systems aligns with the growing focus on sustainable construction, as they can be integrated with eco-friendly heating sources.
Electric systems, on the other hand, use coils or mats for heating. They're quicker to install due to their thinner wiring and are perfect for smaller areas or as supplementary heating. Whilst they may have higher operational costs, they're often the go-to choice for targeted heating solutions.
When selecting between wet and electric systems, we must consider the project scope, space requirements, and long-term cost implications.
Each flooring type—concrete, wood, vinyl, tiles, or laminate—requires specific considerations for compatibility with underfloor heating. This influences our choice of insulation and installation methods.
Pre-Installation Planning and Assessment

Three essential steps form the foundation of a successful underfloor heating installation: survey, measurement, and evaluation.
We begin with a thorough property assessment, examining existing floor types and insulation levels to determine the system's suitability. This detailed survey allows us to identify any potential challenges or modifications needed.
Similar to preparing a concrete slab foundation, the subgrade and subbase conditions are critical for the stability and performance of the underfloor heating system.
Next, we meticulously measure each room's dimensions, accounting for fixtures that may affect the layout. Precise measurements are imperative for accurately estimating installation costs and ensuring ideal coverage.
We then evaluate the condition of existing floor surfaces and subfloors, as both wet and electric systems can be installed on various substrates. This step helps us determine any necessary preparations before installation.
Consulting with underfloor heating experts is essential to select the most appropriate system based on the property's characteristics and the homeowner's heating preferences.
We consider factors such as energy efficiency, response time, and long-term costs.
Required Tools and Materials

We shall now examine the vital tools and materials needed for underfloor heating installation.
For the basic setup, we require a tape measure, quality pipe cutter, and pipe fixing tool to guarantee accurate pipe placement and secure connections.
Quality assurance measures are essential in underfloor heating installations, much like in ready-mix concrete production, to guarantee peak performance and longevity.
Specialised components like insulation boards, pre-grooved pipe boards, and a manifold are vital for wet systems, whilst electric systems necessitate heating mats or cables, joint tape, and protective conduit.
Essential Installation Equipment
To ensure a successful underfloor heating installation, it's essential to have the right tools and materials at hand. We'll need a thorough set of equipment to address potential installation challenges and ensure proper maintenance.
Similar to the innovative shell concrete project, having the proper tools allows us to explore eco-friendly and sustainable heating solutions. This approach can contribute to better energy efficiency and reduced environmental impact.
For all underfloor heating systems, we require a tape measure for precise measurements, a quality pipe cutter for accurate pipe trimming, and a pipe re-rounding tool to maintain spherical cut ends. These tools are fundamental for preventing leaks and guaranteeing peak system performance.
When installing electric systems, we must have wire cutters, wire strippers, and a multimeter for electrical testing and diagnostics. These tools help us avoid common installation challenges and facilitate future maintenance.
For wet systems, we'll use insulation boards to enhance energy efficiency, pre-grooved pipe boards for easier pipe installation, and a manifold for connecting pipework. These materials are necessary for creating a robust and long-lasting heating system.
Additionally, we'll need key hand tools like screwdrivers and spanners for various tasks throughout the installation process.
Specialized Underfloor Components
Specialised components form the backbone of an efficient underfloor heating system. When installing underfloor heating, we must carefully select and integrate these components to guarantee peak performance.
For wet systems, we'll need insulation boards, pre-grooved pipe boards, and water pipes. Electric systems require heating mats or loose cables, joint tape, and conduit for wiring protection.
A vital element in both types of systems is the manifold. We'll select a stainless steel manifold for durability and efficient pipe connections. Proper manifold selection is essential for distributing heat evenly throughout the system.
Thermostat programming is another important aspect. We'll install programmable thermostats to regulate heating zones effectively. These allow for precise temperature control and energy efficiency.
To guarantee a successful installation, we must focus on:
- Accurate measurements and cutting of pipes and boards
- Secure fixation of pipework using a pipe fixing tool
- Proper insulation to enhance thermal efficiency
Subfloor Preparation
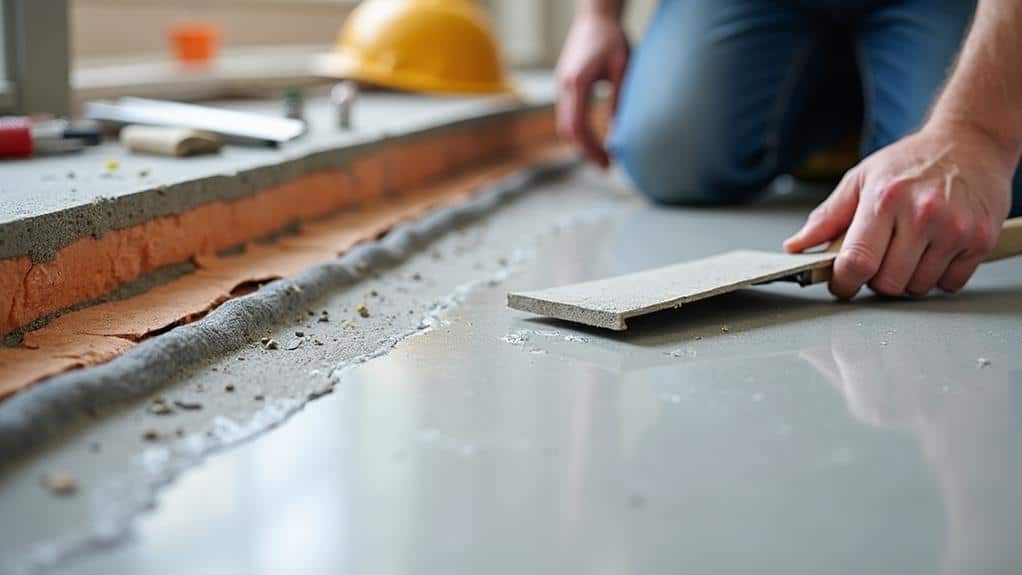
Proper preparation of the subfloor is essential for the successful installation of underfloor heating. We shall guide you through the significant steps to ensure your subfloor is ready for the heating system.
First, we must focus on subfloor cleaning and debris removal. It's imperative to thoroughly clean the subfloor, eliminating any dirt, dust, or loose particles. We shall also inspect for jagged edges or protrusions that could potentially damage the heating pipes. These must be smoothed or removed to create a uniform surface.
Next, we shall address moisture concerns. We recommend installing a damp-proof membrane before laying insulation. This step is fundamental in preventing moisture-related issues that could compromise the heating system's integrity and efficiency.
Once the subfloor is clean and protected, we shall move on to insulation. We've two primary options: the Clypso System for direct attachment or VLo Ultra-12 panels. The choice depends on your specific project requirements and desired energy efficiency.
Installing Insulation and Membrane
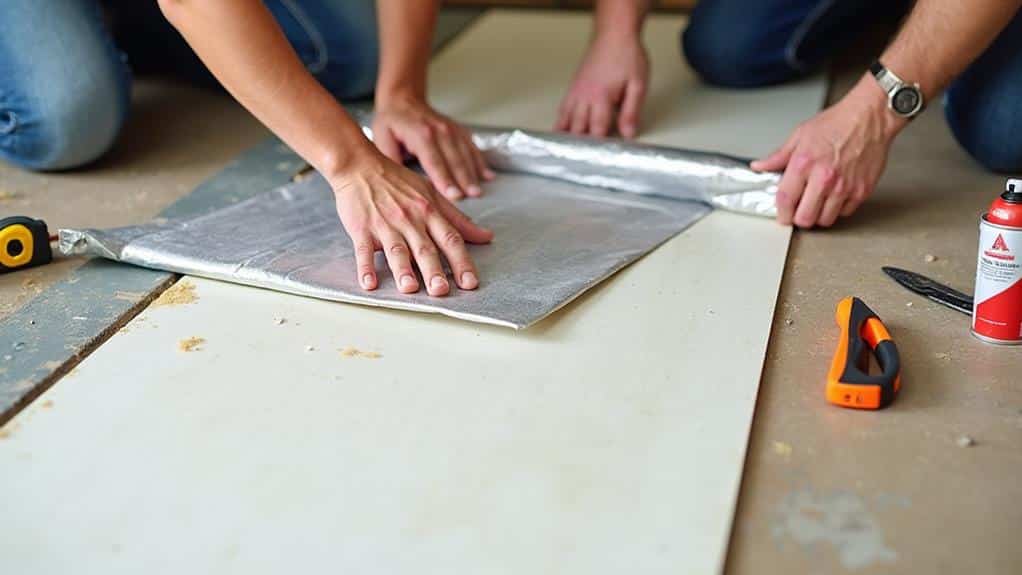
The installation of insulation and membrane forms a significant foundation for your underfloor heating system's efficiency.
We shall begin by laying insulation boards across the entire subfloor, ensuring they're tightly fitted and joints are taped. This step is essential for enhancing thermal efficiency and reducing energy bills.
Next, we shall install a damp-proof membrane over the insulation to protect the heating system from moisture and dampness.
It's imperative to verify the insulation panels are level and gap-free to prevent hot spots and inefficient heating. We shall use polyurethane edge insulation along the perimeter walls to minimise heat loss at the edges.
The insulation benefits of this approach are substantial:
- Improved thermal efficiency
- Reduced energy consumption
- Enhanced overall system performance
Before proceeding with the heating system installation, we shall conduct a thorough inspection of the insulation and membrane.
This step is critical for moisture control and long-term system efficiency. We're looking for secure placement and proper sealing of all components.
Laying Pipes or Electric Mats

When laying pipes or electric mats for underfloor heating, one must consider proper spacing and pattern arrangements.
For wet systems, pipes should be spaced 200-250mm apart, whilst electric mats ought to be laid in parallel rows.
It's essential to secure pipes or mats firmly to prevent movement during screed application, using joint tape for electric mats and ensuring a maximum pipe length of 100-110m per room for wet systems.
Spacing and Pattern Considerations
Spacing and pattern considerations play an essential role in the effective installation of underfloor heating systems.
When installing wet systems, we must maintain a pipe loop spacing of 200mm to 250mm to guarantee even heat distribution and best performance. For electric heating mats, we need to install them with a minimum spacing of 5cm apart to prevent overheating and guarantee consistent heating across the floor.
Following proper spacing guidelines and installation patterns is vital for system efficiency. We recommend adhering to these key principles:
- Avoid crossing pipes or electric mats during installation
- Limit maximum pipe length per room to 100m-110m for wet systems
- Lay electric mats in a serpentine pattern, starting from the thermostat location
For wet systems, maintaining the recommended pipe spacing helps prevent cold spots and guarantees uniform heat distribution.
Similarly, with electric mats, proper spacing prevents localised overheating and promotes consistent warmth throughout the floor surface.
Securing Pipes/Mats Properly
Proper securing of pipes or electric mats is vital for the longevity and efficiency of underfloor heating systems.
For wet systems, we shall maintain a consistent spacing of 200mm to 250mm between pipe loops to guarantee even heat distribution. We shall use pipe fixing clips or egg crate panels to secure the pipes, preventing movement during the screeding process.
When installing electric heating mats, we shall lay them flat without overlapping to avoid hotspots. It's essential to verify the total wattage doesn't exceed the specified limits for the flooring type. We shall use joint tape to hold sheets together securely, preventing any shifting during installation.
Before pouring screed or laying final floor coverings, we shall always check for proper alignment and spacing. This step is significant, as incorrect installation can lead to inefficiencies and potential damage.
For both wet and electric systems, we shall pay close attention to mat alignment and pipe fixing techniques.
Connecting to Heat Source
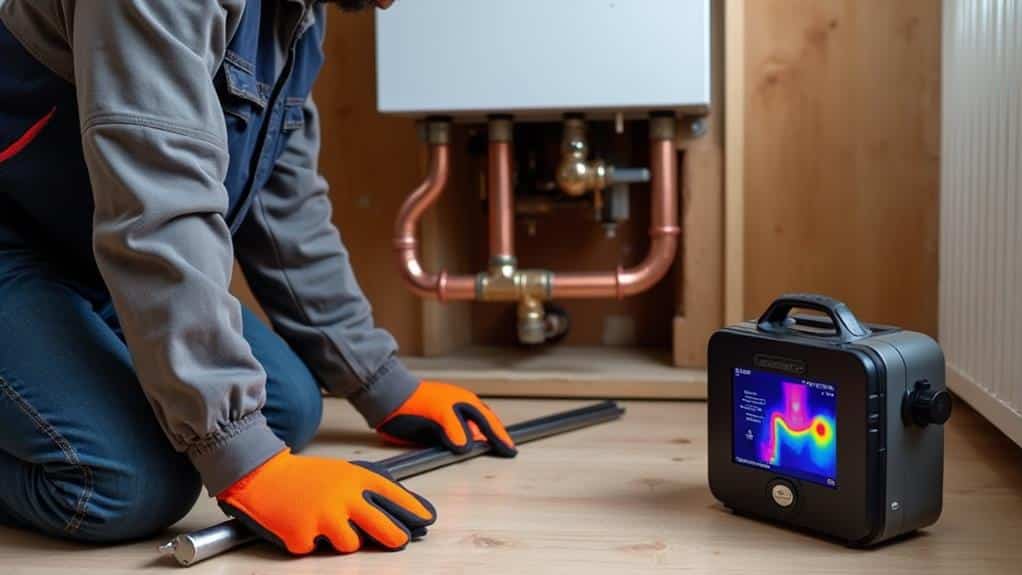
Having laid the underfloor heating pipes, we shall now focus on connecting the system to its heat source. The manifold serves as the central hub for this connection, distributing heated water throughout the system.
We shall begin by carefully selecting the manifold placement, ensuring the chosen location can support its weight and provide easy access for future maintenance.
When connecting pipes to the manifold, we must pay close attention to proper alignment and use the correct pipe diameter. This precision is vital for ideal water flow and overall heating performance.
After connecting the manifold to the heat source, we shall conduct a pressure test to verify system integrity and check for leaks.
To ensure a successful connection, we shall follow these key steps:
- Mount the manifold securely in the chosen location
- Align and connect pipes to the manifold, using appropriate fittings
- Connect the manifold to the heat source, following manufacturer specifications
Testing and Commissioning

With the underfloor heating system fully installed and connected to the heat source, we'll now initiate the testing and commissioning phase. For wet systems, we conduct a pressure test at 1.5 to 2 bar to detect any leaks. Electric systems require resistance checks using a multimeter, ensuring values align with manufacturer specifications. These steps are vital for system efficiency and user experience.
We'll gradually increase the system temperature to prevent thermal shock. Starting at a low setting, we'll raise it by 3°C to 5°C daily until reaching the maximum temperature, not exceeding 50°C for wet systems. This process guarantees peak performance and longevity of the heating components.
Thermostat calibration is essential for accurate temperature control. We begin at 18°C, incrementing by 1°C daily until achieving the desired comfort level. This methodical approach ensures precise temperature regulation and enhances user experience.
Throughout the commissioning process, we meticulously document all tests and results. This documentation serves as a valuable reference for future maintenance and ensures compliance with safety standards.
Final Flooring Installation

The final flooring installation marks the culmination of our underfloor heating project. Before proceeding, we must ensure the screed has dried for at least seven days and the heating system has been gradually warmed up to prevent thermal shock.
Flooring compatibility is vital; we'll verify that all materials can withstand the system's heat output. For tile installations, we recommend a minimum screed thickness of 50mm for effective heat distribution. We'll use flexible adhesives to accommodate thermal expansion.
When installing vinyl, we'll confirm it can handle temperatures up to 27°C. For wooden and laminate flooring, we'll allow for 1.5cm expansion gaps around the edges.
To ensure peak performance, we'll follow these steps:
- Verify flooring material compatibility with the underfloor heating system
- Install appropriate underlayment or adhesives
- Allow for proper expansion gaps where necessary
After installation, we'll regularly check the system's performance to ensure consistent heating and address any issues promptly.
Frequently Asked Questions
Can I Install Underfloor Heating Myself?
One can install underfloor heating oneself, but one must consider DIY challenges and perform a thorough cost analysis. One will need specific skills, tools, and knowledge. It's essential to evaluate one's abilities against the complexity of the system chosen.
How Is Floor Heating Installed?
We install floor heating by choosing between wet or electric systems. We clean the subfloor, lay insulation, then install pipes or mats. System types and installation costs vary, but we follow precise steps for ideal performance.
Changes to British English for a UK audience are minimal in this case, as the text is already quite neutral. The only minor adjustments might be:
- Changing "subfloor" to "sub-floor"
- Possibly using "whilst" instead of "but" in the last sentence
The modified text would read:
We install floor heating by choosing between wet or electric systems. We clean the sub-floor, lay insulation, then install pipes or mats. System types and installation costs vary, whilst we follow precise steps for ideal performance.
Do You Need an Electrician to Install Underfloor Heating?
We strongly advise engaging an electrician for underfloor heating installation. Electrician requirements ensure adherence to local regulations, whilst their expertise guarantees electrical safety. They are essential for final connections, thermostat setup and overall system integrity. Do not compromise on professional installation.
Do You Have to Dig up the Floor for Underfloor Heating?
We needn't always dig up floors for underfloor heating. It depends on system types and cost considerations. Wet systems often require excavation, whilst electric systems can sometimes be installed over existing floors. Proper planning can minimise digging requirements.
Conclusion
We've navigated the underfloor heating installation process, from system selection to final flooring. It's essential we've followed each step meticulously, ensuring proper insulation, precise pipe or mat laying, and thorough testing. Remember, a well-executed installation guarantees peak performance and efficiency. As we power up our new system, it's like we're stoking the fires of a Roman hypocaust, bringing ancient comfort to modern homes. Always adhere to local building regulations and manufacturer guidelines for a safe, compliant installation.

Learn about the diverse types of concrete used in construction and discover which mix can transform your next project.

For a long-lasting driveway that laughs in the face of the UK's unpredictable weather, the C20 concrete mix is your Read more

In the UK, you've got a a lot of lightweight concrete types to choose from, each with its unique perks. Read more