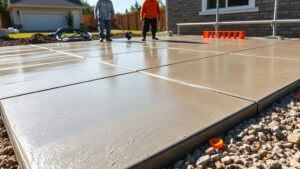
To conduct a carbonation test on concrete surfaces, begin by preparing your samples. Drill into the concrete carefully to avoid contamination. Next, apply a 1% phenolphthalein solution evenly on the exposed areas. Watch for colour changes: a bright pink indicates uncarbonated sections, while a colourless result shows carbonation has occurred. Measure the depth of carbonation by noting the distance from the surface to the carbonation front. For reliable results, keep an eye on the environmental conditions during the test, as these can affect your findings.
Key Takeaways
- Select sampling locations thoughtfully, steering clear of edges and joints. Concentrate on high-risk areas to ensure representative core samples.
- Prepare a 1% phenolphthalein solution and apply it to freshly exposed concrete surfaces to observe any colour changes accurately.
- Watch for colour changes: bright pink indicates a high pH level, while a colourless result shows carbonation, helping to define carbonation boundaries.
- Measure the depth of carbonation by noting the distance from the surface to the carbonation front after colour analysis.
- Conduct tests under controlled conditions, maintaining relative humidity between 50%-70% and temperatures around 20-23°C for dependable results.
Importance of Carbonation Testing

Carbonation testing may not be top of mind, but it plays a vital role in ensuring the durability of concrete structures. Early detection of carbonation can prevent reinforcement corrosion, which is essential for maintaining structural integrity. This testing provides valuable data for predicting the performance and remaining lifespan of concrete elements. By pinpointing vulnerable areas, you can carry out targeted maintenance and repair, extending the life of the structure. Regular carbonation testing is also crucial for meeting safety standards and building regulations, helping to avoid expensive repairs and safety risks associated with unnoticed carbonation. In short, effective testing is fundamental to quality assurance in both new and existing construction projects, as high alkalinity is crucial to prevent corrosion of reinforced steel.
Understanding Carbonation in Concrete
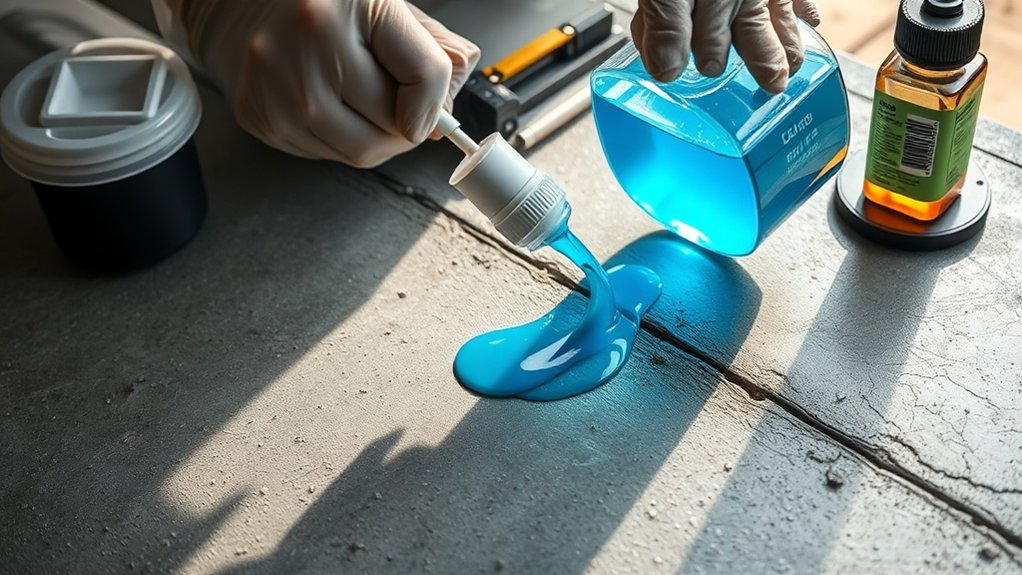
Understanding carbonation in concrete is crucial for assessing its long-term durability. Carbonation begins at the surface and can weaken the structure by lowering pH levels and increasing porosity. Factors like moisture content and the composition of the concrete play a significant role in the rate of carbonation. Therefore, it’s important to consider these aspects during testing. Additionally, a high water-to-cement ratio can significantly increase the risk of carbonation, further compromising the concrete’s integrity.
Carbonation Process Overview
Carbonation in concrete occurs when carbon dioxide (CO₂) from the atmosphere reacts with the moisture in the concrete, forming carbonic acid (H₂CO₃). This process triggers various chemical reactions that impact the concrete’s structure. The carbonic acid reacts with calcium hydroxide (Ca(OH)₂), producing calcium carbonate (CaCO₃) and reducing the pH of the pore solution. As carbonation advances, it alters the internal chemistry, decreasing alkalinity and potentially compromising the integrity of the concrete. Notably, the carbonation process can lead to the corrosion of steel reinforcement, causing spalling and loss of mechanical strength.
| Reaction | Byproducts | Impact on Concrete |
|---|---|---|
| CO₂ + H₂O → H₂CO₃ | Carbonic acid | Initiates carbonation |
| H₂CO₃ + Ca(OH)₂ → CaCO₃ + H₂O | Calcium carbonate | Lowers pH |
| C-S-H Decalcification | Silica gel and CaCO₃ | Alters microstructure |
| Increased Porosity | – | Reduces structural strength |
| Reduced Alkalinity | – | Impairs steel protection |
In essence, as carbonation progresses, it can weaken the concrete and jeopardise its ability to protect embedded steel reinforcement.
Impact on Concrete Integrity
As carbonation develops in concrete, it significantly threatens the integrity of structures. This process lowers the pH level, compromising the protective oxide layer around embedded steel, which leads to corrosion.
Once corrosion starts, rust expands, creating tensile forces that result in cracking and spalling, further weakening the concrete. This deterioration diminishes the load-bearing capacity and overall safety of the structure.
Moreover, cracks allow moisture and CO₂ to penetrate, speeding up the degradation process. The ongoing loss of alkalinity and mechanical strength worsens these problems, increasing the risk of sudden structural failures.
Therefore, monitoring the effects of carbonation is crucial for maintaining the durability and long-term performance of reinforced concrete buildings and infrastructure.
Factors Influencing Carbonation Rate
Several factors influence the carbonation rate in concrete, making it crucial to understand these variables for effective management.
Key environmental factors include temperature, CO₂ concentration, and relative humidity. Higher temperatures speed up the reactions, while increased CO₂ levels enhance penetration, following a power function.
Relative humidity between 50% and 70% is ideal for carbonation; below this, moisture is inadequate, and above, diffusion slows down.
The composition of the concrete is also vital; a higher water-cement ratio increases porosity, allowing more CO₂ to penetrate.
Unsheltered concrete in urban areas experiences faster carbonation due to higher CO₂ levels, whereas sheltered surfaces tend to carbonise more slowly.
Recognising these factors is essential for maintaining the durability of concrete. Additionally, the carbon footprint of concrete production highlights the importance of considering environmental impacts when evaluating carbonation rates.
Preparing for the Carbonation Test

Before commencing the carbonation test, it’s essential to plan where to extract core samples to ensure the data is representative.
Thoroughly clean the surface to eliminate any debris that might skew the results, using methods that prevent moisture interference.
Lastly, ensure samples are extracted with minimal damage to preserve their integrity for accurate analysis.
Core Sample Extraction
To extract core samples for a carbonation test, choose your sampling locations carefully and use appropriate equipment. Opt for diamond core drills to minimise damage, ensuring they’re securely clamped to prevent misalignment. Select areas that are free from reinforcement bars and visible defects, ideally at least 14 days after the concrete has been placed.
Once you’ve drilled, score the perimeter to reduce cracking, then gently extract the core using specialised tongs. Wrap the cores immediately to prevent moisture loss.
Remember to label each sample right after extraction for traceability. Store them in non-absorbent containers and keep them dry to maintain their integrity. This process is crucial for ensuring accurate testing results, which are essential for evaluating the durability of the concrete.
Finally, document the extraction date, location, and depth to ensure accurate testing results.
Surface Cleaning Techniques
After extracting core samples, it’s vital to keep the concrete surface intact for accurate carbonation testing. Effective surface cleaning techniques can be divided into mechanical and chemical methods.
1. Begin with mechanical cleaning: use wire brushes to eliminate dust and debris, and compressed air to clear drilled holes.
Light abrasion may be needed to reveal a reactive surface without changing its pH.
2. If any contaminants remain, opt for chemical cleaning: mild acid etching can effectively remove residual carbonates while maintaining the surface’s alkalinity.
3. Lastly, dry the surface promptly with a hairdryer or fan to remove any bleed water.
Consistent cleaning and drying practices will standardise your testing conditions, ensuring reliable results.
Sample Location Planning
Effective sample location planning is crucial for accurate carbonation testing on concrete surfaces. Start by selecting sites that truly represent the structure’s exposure conditions, such as sheltered or exposed areas.
Look for spots showing visible signs of distress, like cracking or spalling, but steer clear of surfaces treated with sealants that could affect your results. Ensure that there’s easy access to the concrete cover over reinforcement and choose locations away from joints or edges, where carbonation may occur more rapidly.
Make sure to test all key structural elements, particularly those at greater risk, such as bridge decks. Distribute samples evenly using a grid pattern for larger surfaces and document each location carefully.
Also, consider environmental factors that could influence carbonation rates to ensure precise analysis.
Sampling Techniques for Carbonation Testing
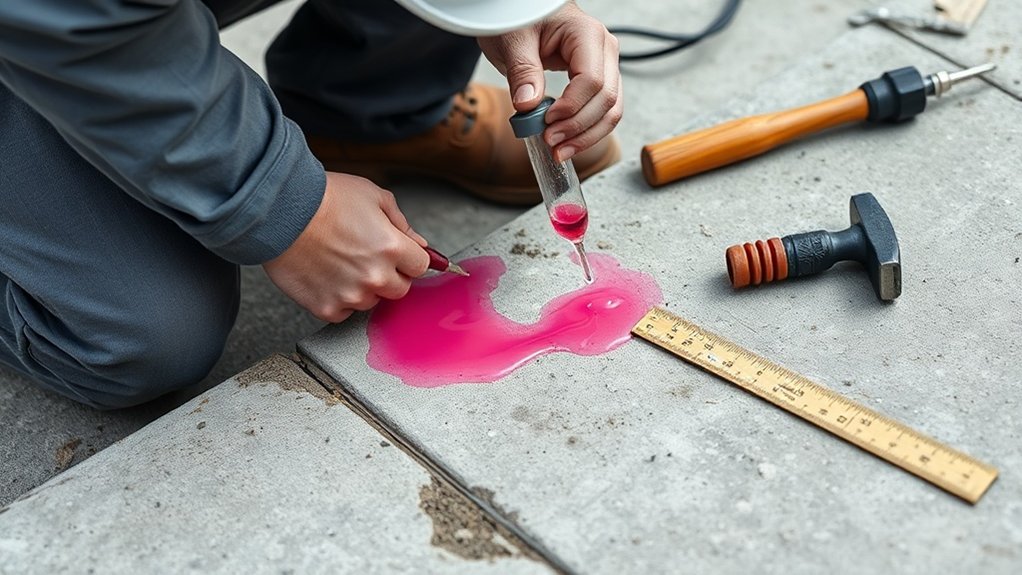
Several techniques are available for sampling concrete during carbonation testing, each with its own advantages and considerations.
It’s important to understand these methods for accurate analysis. Here are three key techniques:
- Core Sampling: Drill to extract cylindrical specimens. This method preserves the carbonation profile, but care must be taken to measure accurately to avoid damaging the sample.
- Powder Sampling: Use a “picker” to collect concrete powder during drilling. This technique enables layered analysis of carbonation without compromising intact cores.
- Preparation of Sample Surface: Ensure surfaces are freshly exposed to avoid contamination. Proper cleaning methods are essential for reliable testing results.
Application of Phenolphthalein Indicator
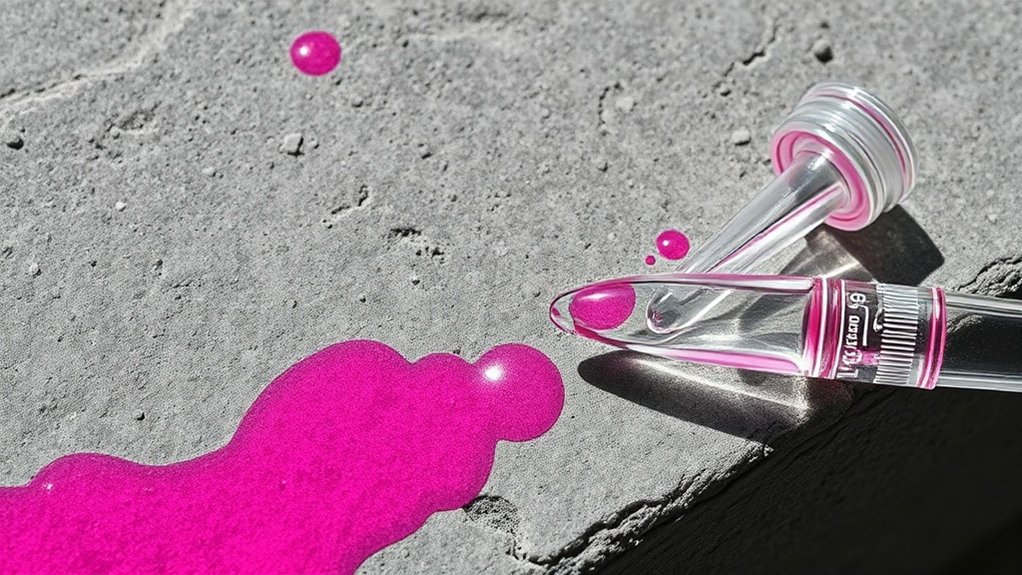
Accurate carbonation testing relies on the use of phenolphthalein indicator, which provides instant visual feedback on the pH levels of concrete surfaces.
Start by preparing a 1% solution by dissolving 1 gram of phenolphthalein powder in 100 millilitres of isopropyl alcohol.
Apply this solution to a freshly exposed or fractured concrete surface using a spray method for even coverage.
Ensure you do this immediately after exposing the concrete to avoid any changes to the surface.
If you’ve drilled holes, be sure to remove any dust beforehand.
The solution will turn bright pink or purple in areas with a pH above 8.6–9.5, while colourless areas indicate the presence of carbonation, clearly marking the carbonation front.
Observing Color Changes in Concrete

When you apply phenolphthalein indicator to freshly exposed or fractured concrete surfaces, you’ll observe clear colour changes that indicate the carbonation status of the material.
The differences in colour are essential for accurate interpretation. Here’s what to look for:
- Colourless Areas: These show carbonated surfaces with low alkalinity.
- Pink/Purple Sections: These indicate uncarbonated regions with a pH above 8 to 9.5, suggesting that protective conditions are intact.
- Surface Conditions: Consider how moisture and contaminants might affect colour visibility, as they can mask true carbonation boundaries.
For best results, ensure proper surface conditions and monitor the colour change for a few minutes before documenting.
This allows for a reliable visual assessment of carbonation progress.
Measuring Carbonation Depth
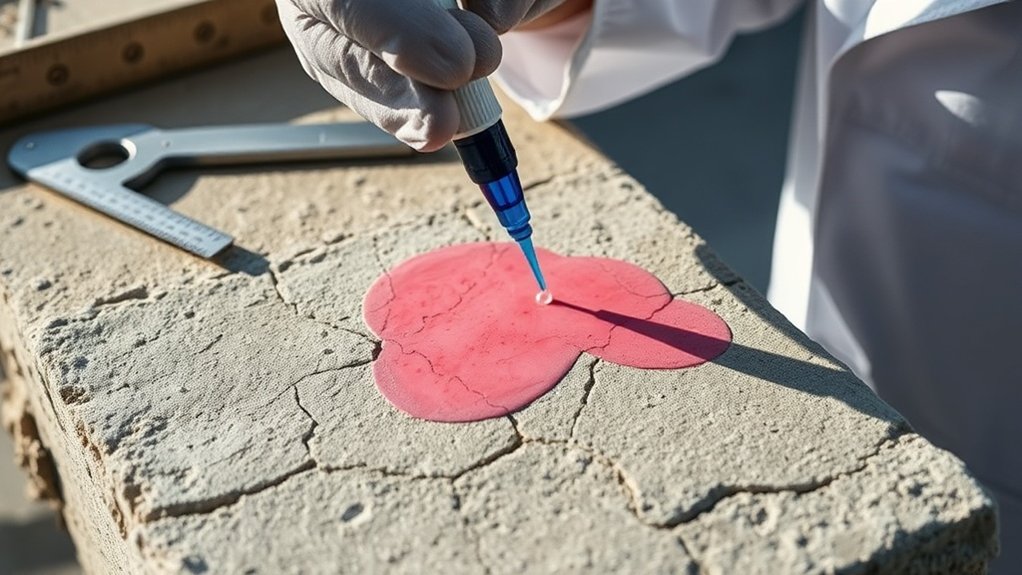
To measure carbonation depth accurately, analyse colour changes using a phenolphthalein indicator. This helps you identify the boundary where the concrete shifts from uncarbonated to carbonated.
To measure the depth, record the distance from the surface to this boundary, which indicates how far carbonation has progressed.
Understanding these techniques ensures reliable results when assessing the durability of concrete structures.
Color Transition Analysis
Colour change analysis is a simple method for measuring carbonation depth in concrete surfaces, using pH-sensitive indicators to clearly distinguish between carbonated and non-carbonated areas.
Follow these steps for effective analysis:
- Indicator Selection: Use phenolphthalein solution, the most commonly used indicator for this task.
- Surface Preparation: Ensure the concrete is freshly saw-cut or fractured to allow for accurate application of the indicator.
- Visual Interpretation: Look for the colour shift; colourless areas indicate carbonation, while pink areas show non-carbonated zones.
Be aware that the clarity of the colour change can be influenced by factors such as surface treatments and environmental conditions.
Therefore, ensure consistent lighting for the best results.
Depth Measurement Techniques
Measuring carbonation depth in concrete is crucial for assessing its structural integrity and durability. Several techniques can be employed, including chemical indicators and laboratory methods. For example, spraying phenolphthalein can highlight carbonation zones, while advanced methods like FTIR and XRD offer precise measurements. Here’s a brief comparison of these techniques:
| Technique | Accuracy | Application |
|---|---|---|
| Phenolphthalein | Moderate | On-site testing |
| FTIR | High | Laboratory analysis |
| XRD | High | Mineral analysis |
| TGA | High | Core sample testing |
To ensure accuracy, it’s important to measure at multiple points, as this accounts for variability in the concrete and provides a more representative average depth.
Factors Influencing Carbonation Rates
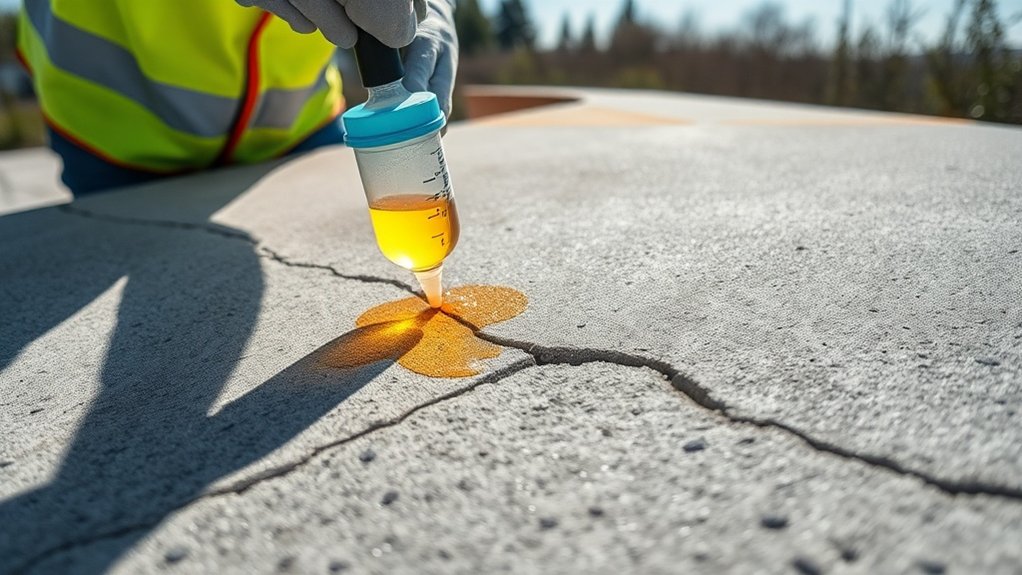
Several factors influence carbonation rates in concrete, with environmental conditions, concrete composition, and moisture content being particularly significant. Here are some key elements:
- Temperature Effects: Higher temperatures increase the transmission of CO₂ and speed up chemical reactions, leading to deeper carbonation.
- Humidity Impact: Carbonation depth rises with humidity levels up to 70%. Below 50% humidity, there isn’t enough moisture for reactions to occur, whereas above 70%, water-filled pores can hinder CO₂ diffusion.
- Concrete Composition: Higher strength grades are more resistant to carbonation due to lower CO₂ transmission. The water-cement ratio also affects porosity, which significantly impacts carbonation rates.
Analyzing Test Results

Analysing carbonation test results requires a clear and methodical approach for accurate interpretation.
Begin by examining the carbonation measurements, specifically the depth at the colour change boundary after applying phenolphthalein. Keep in mind that factors such as surface preparation and moisture can influence your results, so it’s wise to average data from at least three samples.
Be aware that the phenolphthalein method may underestimate carbonation depth, so proceed with caution.
Document your findings, including mean depth values and photographs to illustrate variability. For greater accuracy, consider using quantitative methods like core sampling.
This thorough approach ensures a reliable assessment of carbonation progression in your concrete structures.
Common Methods for Carbonation Testing

Understanding the carbonation process in concrete is crucial, and there are several methods to accurately assess its extent. Here are three common approaches for carbonation testing:
- Phenolphthalein Indicator Test (PI): This straightforward field method uses a pH indicator to visually assess carbonation depth on freshly cut concrete surfaces. You simply apply the indicator, and areas that have carbonated turn a different colour.
- Core Extraction and Laboratory Analysis: By extracting concrete cores, you can conduct controlled tests in a lab. This method enhances measurement accuracy and allows for simultaneous analysis of carbonation alongside other factors.
- Advanced Instrumental Techniques: Techniques like Thermogravimetric Analysis (TGA) and X-ray Diffraction (XRD) provide precise identification of carbonation compounds. However, they necessitate specialised equipment and expertise.
Each method has its own advantages and challenges, so your choice will depend on the level of accuracy required and the resources available for testing.
Limitations of Carbonation Testing
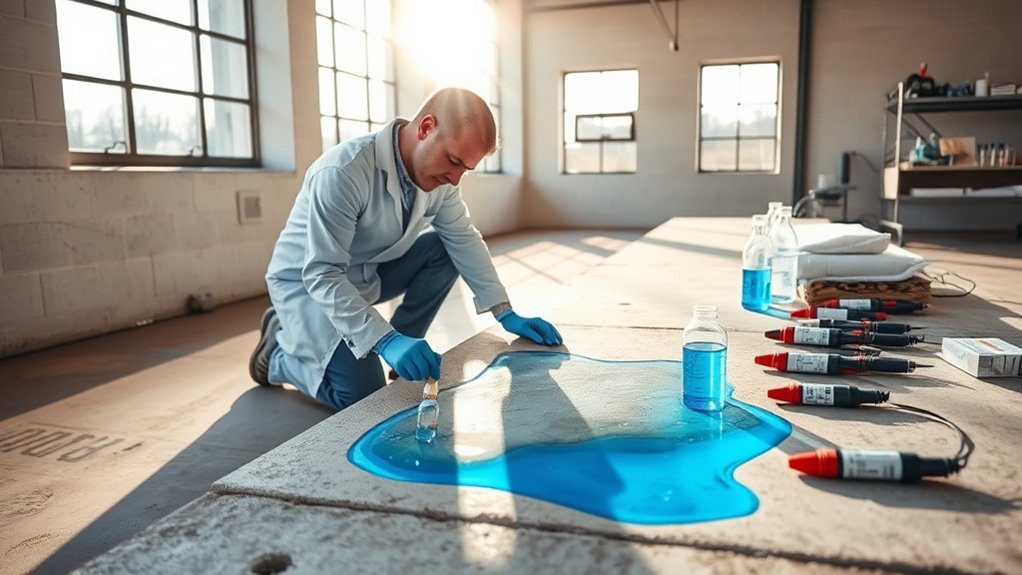
Carbonation testing is crucial for assessing the durability of concrete, but it comes with several limitations that can affect the accuracy of the results. For instance, the phenolphthalein indicator can produce misleading colour changes, especially if the concrete contains dark aggregates or has a surface treatment. Moreover, the methods used for sampling can lead to contamination or structural damage, further skewing the findings.
| Limitation Type | Description |
|---|---|
| Indicator Limitations | Confusing colour changes and pH sensitivity issues |
| Sampling Method Limitations | Risks of structural damage and contamination |
| pH Ambiguities | Potential underestimation of corrosion risk |
| Structural Constraints | Damage to protective cover and accessibility issues |
These factors mean we should approach the interpretation of carbonation test results with caution, as they might not accurately represent the actual condition of the concrete.
Best Practices for Accurate Results
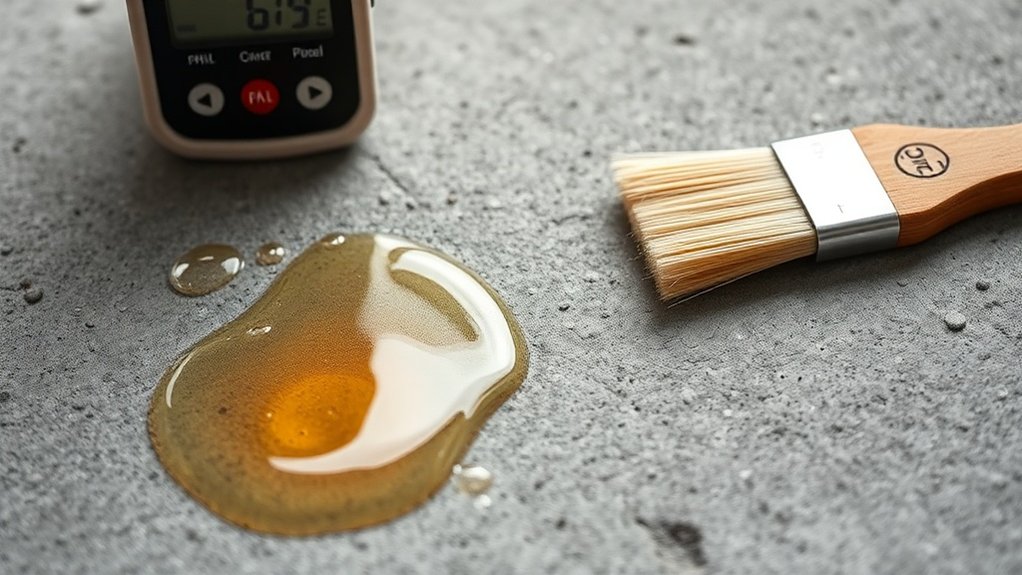
To achieve reliable carbonation test results, it’s crucial to follow best practices. Here are some key steps:
- Sample Preparation: Take concrete cores or create fresh surfaces, ensuring they’re free from dust and coatings that could affect the results.
- Indicator Application: Use a 1% phenolphthalein solution, applying it evenly to observe distinct colour changes that indicate carbonation levels.
- Testing Environment: Conduct tests promptly under controlled conditions, keeping relative humidity between 50%-70% and temperatures around 20-23°C to mimic realistic carbonation rates.
Frequently Asked Questions
How Often Should Carbonation Testing Be Conducted on Concrete Structures?
Carbonation testing should be carried out regularly during the first year, then annually or every two years, depending on the environmental conditions. For example, structures in coastal areas may require more frequent testing due to exposure to harsher elements. This approach ensures the structural integrity of concrete by monitoring the progression of carbonation and detecting potential issues early on.
What Are the Consequences of Ignoring Carbonation in Concrete?
Neglecting carbonation in concrete threatens its durability and structural integrity. It can lead to quicker corrosion of reinforcement bars, increased cracking, and spalling. For instance, a bridge or building that suffers from these issues may require expensive repairs and pose safety risks to its users and residents. Ignoring this problem is not just a maintenance oversight; it can have serious financial and safety implications.
Can Carbonation Testing Be Performed in Wet Conditions?
Carbonation testing cannot be carried out effectively in wet conditions. High moisture levels prevent CO₂ from penetrating properly, resulting in inaccurate readings. To ensure reliable measurements and a correct assessment of carbonation depth, it’s crucial that surfaces are dry.
Are There Alternative Indicators Besides Phenolphthalein for Testing?
Yes, bromothymol blue and methyl orange can serve as alternative indicators for carbonation testing. Both exhibit clear colour changes and are reliable substitutes for phenolphthalein, particularly in different pH levels during concrete assessments.
How Do Environmental Factors Affect Carbonation Rates Over Time?
Environmental factors such as temperature and humidity significantly influence carbonation rates. Warmer temperatures speed up carbonation, while humidity affects the diffusion of CO2. The ideal conditions for carbonation are found between 50-70% relative humidity, as this range strikes a balance between adequate moisture and effective carbonation penetration. For instance, think of a warm day; a fizzy drink left outside will lose its bubbles faster than one kept in a cool place.
Conclusion
In summary, conducting a carbonation test on concrete surfaces is crucial for assessing their durability and lifespan. Research indicates that around 50% of concrete structures may suffer from carbonation-related damage over time. By following the recommended testing methods and best practices, you can ensure accurate results that guide maintenance decisions. Regular carbonation testing can prevent costly repairs and prolong the life of your concrete assets, protecting your investment for years to come.

Boost your concrete quality assurance with 10 essential testing methods; uncover critical techniques that could transform your project's success.

Finding the hidden strengths and weaknesses in concrete, core sampling reveals essential insights about structural integrity after installation—discover its crucial Read more

Prepare to uncover essential techniques for accurately measuring shrinkage and creep in hardened concrete, revealing insights that could transform your Read more