A screed board is the essential tool for levelling concrete to the top of formwork. Available in aluminium and wooden variants, aluminium is favoured by professionals for its strength and resistance to warping.
For top results, begin screeding 30-60 minutes after pouring, maintaining a 45-degree angle with steady pressure. Tilt the board slightly upward to avoid dragging, and limit yourself to 2-3 passes per section.
Much like spreading butter on toast, your timing and technique need to work together whilst the concrete remains workable.
Key Takeaways
The screed board, crafted from aluminium or wood, levels concrete precisely to the form’s edge.
For proper manual screeding, hold the board at a 45-degree angle and work it with a sawing motion, much like smoothing butter across toast.
Vibrating screeds prove ideal for larger jobs like driveways or patios, delivering spot-on levelling with less effort.
Time is crucial – apply the screed within 30-60 minutes of pouring your concrete whilst it’s still workable.
Follow up with a bull float to achieve a smooth, professional surface and ensure the aggregate settles properly.
Understanding Concrete Screeding Tools
Getting a perfectly level concrete surface requires the right screeding tools for both DIY enthusiasts and professional builders. The main tool needed is a screed board, made from either wood or aluminium. Though both work well, aluminium screed boards last longer and won’t splinter, making them better for professional work.
As with liquid screed, proper timing and technique are crucial for the best results.
Good screeding technique is essential. Move the screed board in a back-and-forth sawing motion whilst pulling it across the concrete surface, being careful not to push it too deep into the wet mix. Start screeding within 30-60 minutes after laying the concrete, before it begins to set.
For bigger jobs, vibrating screeds are worth considering. These powered tools use mechanical vibration to settle the concrete more effectively, reducing physical work whilst ensuring consistent results.
Whatever type of screed you use, success depends on proper technique and timing.
Proper Screed Selection and Preparation
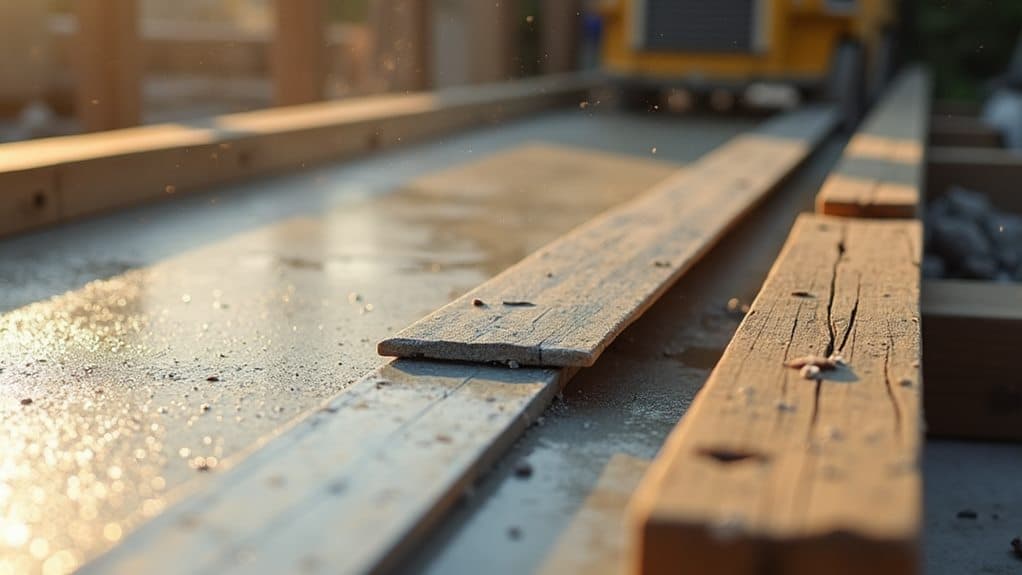
Selecting the right screed and proper preparation are crucial for quality concrete work. While a 2×4 timber board works as a basic screed, an aluminium screed offers better results with a smoother finish and no risk of splinters or wood grain marks in your concrete surface. Quality checks are essential for ensuring even surface levels and maintaining durability.
Before screeding, check that your concrete forms are set correctly and your subbase is well-prepared. Clear all debris and compact the base properly to create a solid foundation.
Timing is critical – you must level the surface within 30 minutes of pouring whilst the concrete remains workable.
When using the screed, work with a steady back-and-forth sawing motion across the concrete forms. This method stops the screed from dipping into wet concrete and helps achieve the right level more effectively.
The screed material you choose and how well you prepare directly affect your finished surface quality, so take time to select and prepare the right tool for your job.
Manual Screeding Techniques

Manual screeding must be done while the concrete is workable to ensure a quality finish. Timing and proper technique are crucial, as early finishing can affect durability and create surface defects.
A 2×4 timber or aluminium screed works best – level the concrete straight after pouring to prevent the straightedge sinking into the wet mix.
Hold your screed at a slight upward angle at the leading edge whilst moving it back and forth in a sawing motion across the concrete. This prevents dragging and ensures a smooth surface. Limit yourself to 2-3 passes per section, as too much screeding brings excess water to the surface, which can weaken the concrete.
Once screeding is complete, immediately use a Bull Float to smooth the surface and consolidate the aggregate. This two-step method delivers best results before the concrete starts to set.
Work efficiently whilst the concrete remains workable – delayed screeding leads to uneven surfaces that need extra correction.
Power Screeding Equipment

Walk-behind power screeds have transformed concrete levelling, delivering better control and efficiency on large projects.
These machines create perfectly level surfaces ideal for floor finishes such as tiles, laminates and vinyl.
They’re particularly valuable on industrial floors, where their vibrating mechanism ensures even concrete consolidation whilst reducing worker fatigue.
Laser-guided versions offer enhanced precision, using sensors to maintain exact levels and gradients across wide concrete areas.
Walk-Behind Power Screeds
Walk-behind power screeds are purpose-built machines that level and smooth fresh concrete through controlled vibration. These tools feature wide aluminium or magnesium screed boards that efficiently level concrete across large areas, delivering smooth surfaces whilst reducing worker fatigue.
Key benefits for concrete levelling on site:
- Adjustable vibration controls for optimal concrete consolidation, preventing air pockets and water bleeding
- Broad reach with boards several metres wide, enabling quick coverage of large concrete slabs
- Easy handling through well-designed grips and lightweight build
These power screeds significantly reduce labour time compared to manual methods. The precise control over vibration settings ensures a professional finish, making them particularly useful on housing developments and commercial builds.
Their versatile design suits projects of various sizes, transforming a traditionally demanding task into an efficient process.
Think of it as upgrading from a hand trowel to a mechanised solution – much like switching from a manual to an electric whisk when mixing. The results are more consistent, the work is less taxing, and the job gets done in half the time.
Laser-Guided Screeding Systems
Modern laser-guided screeding systems represent a significant step forward in concrete levelling technology. These precise tools use laser beams to establish and maintain exact grade specifications whilst finishing concrete surfaces.
The systems automatically adjust to different heights, delivering level surfaces across both large areas and complex layouts. Setting up involves programming your desired height specifications, after which the equipment maintains that level throughout the pour.
The automated height adjustment prevents common mistakes typically seen with traditional screeding methods. Most systems include multiple attachments, such as vibratory and power options, giving better control over the finished quality.
The efficiency gains are substantial – laser-guided screeding systems cut down on labour needs and speed up project completion times considerably. They maintain consistent accuracy across large areas whilst reducing the physical strain that comes with traditional concrete levelling methods.
Common Screeding Mistakes to Avoid

Maintaining steady pressure whilst screeding is crucial to achieve a level surface.
For bonded screeds, proper substrate prep and bonding agent are essential – skip either, and you’ll face problems later.
Keep your screed at roughly 45 degrees; get this wrong, and you’ll end up with unsightly ridges across your concrete.
Sturdy screed rails or guides are non-negotiable – wobbly or poorly-set guides will leave you with an uneven finish that’s difficult to fix.
Inconsistent Pulling Pressure
Maintaining Consistent Pulling Pressure
Consistent pulling pressure is vital for proper concrete screeding. Uneven force whilst screeding causes the board to wobble, leading to dips and raised areas in what should be a level surface. Think of it like spreading butter on toast – you need steady pressure to get an even spread.
Essential points:
- Apply steady, uniform pressure whilst moving the screed board. Keep it parallel to the forms using a controlled sawing motion.
- Don’t lift the screed too early – this common error creates surface defects that are difficult to fix later.
- Complete screeding before the concrete starts to set to ensure proper levelling is possible.
Poor pressure control is the main culprit behind uneven concrete surfaces. Much like painting a wall, keeping your tool level and applying constant force produces the best results.
With practice, you’ll develop the muscle memory needed to maintain even pressure throughout the job.
The difference between good and poor screeding often comes down to this single factor – consistent pressure control is the cornerstone of professional-quality concrete work.
Wrong Screeding Angle
The correct screeding angle is crucial for achieving a perfect concrete surface. The angle of your screed board directly affects your finished result – too steep and you’ll remove too much concrete, creating dips; too shallow and you’ll get material build-up, leading to an uneven finish.
Before starting, ensure your screed board is completely level. Use a back-and-forth motion rather than sweeping movements to maintain consistent contact with the wet concrete. Think of it like buttering toast – you want smooth, even coverage.
Keep a steady pace, as moving too slowly can trap water beneath the surface and spoil the finish. Timing is critical. Start screeding whilst the concrete is still workable – once it begins to set, you’ll struggle to achieve a level surface.
Much like spreading plaster, you need to work with the material while it’s at the right consistency. Adding the example of buttering toast here helps visualise the technique, whilst keeping the text focused and practical for UK readers. The comparison to plastering provides another familiar reference point without adding unnecessary detail.
Poor Guide Setup
Setting Up Concrete Guides
A well-positioned guide system is vital for achieving a level concrete surface. Poor guide setup leads to uneven slabs and costly mistakes. Your straightedge should span the full width without sagging to ensure even levelling.
Essential steps:
- Check that your screed board sits flush with form edges before pouring. Any gaps will create dips or ridges that you can’t fix once the concrete starts to set.
- Set your guides whilst the concrete is still workable – waiting too long means you’ll be fighting with partially hardened material.
- Keep guide heights uniform across the entire area to prevent surface irregularities during screeding.
When using the screed board, use a sawing motion and keep the tool slightly above the concrete surface. This stops aggregate shifting and ensures a level finish.
Don’t push the screed too deeply – this creates unwanted texture and ruins the surface quality.
Think of the guides as railway tracks – they need to be perfectly level and parallel for smooth operation. Get these wrong, and everything that follows will be off-kilter.
Achieving Professional-Grade Surface Levelness

Professional surface levelness in concrete starts with proper screeding and precise timing. Master the back-and-forth sawing motion while the concrete remains workable. This prevents the screed from sinking whilst ensuring even material distribution.
| Process Step | Essential Action |
|---|---|
| Timing | Begin screeding straight after pour |
| Motion | Use consistent sawing movement |
| Pressure | Apply steady, even force |
| Coverage | Maintain complete form-to-form contact |
| Follow-up | Use bull float when needed |
Keep the screed aligned with your forms whilst maintaining steady pressure throughout levelling. After achieving initial levelness, switch to a bull float for larger areas. This brings the cream to the surface for a professional finish. Think of it like icing a cake – timing is crucial, and you must complete all surface finishing whilst the concrete is still workable. Any delays will affect the final quality.
Maintaining Your Screeding Equipment
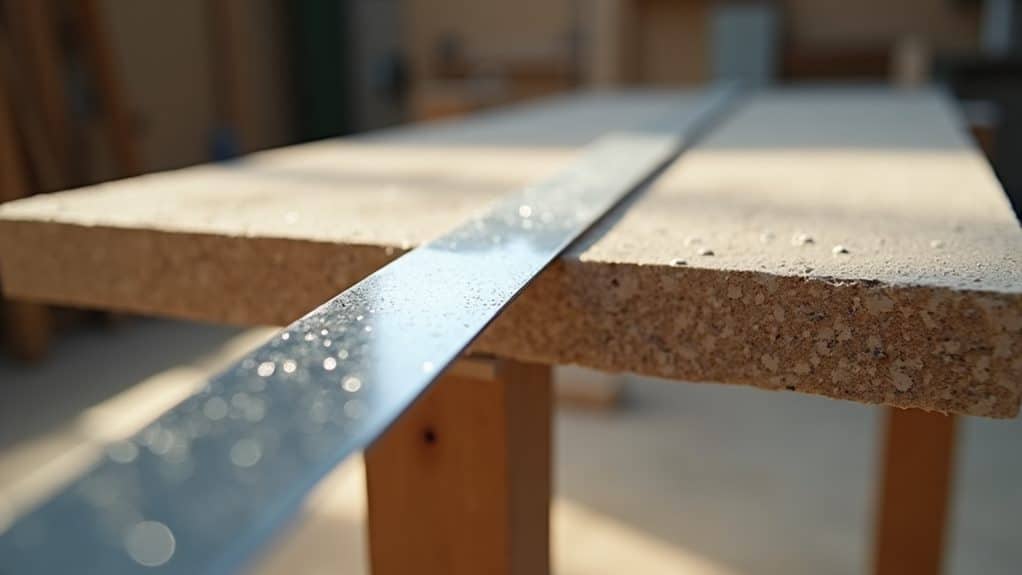
Maintaining Screeding Equipment
The proper maintenance of screeding tools directly impacts their lifespan and performance. After concrete levelling, thorough cleaning is crucial. Getting the water-to-concrete ratio right during mixing and clean-up prevents stubborn residue from building up on your tools, ensuring reliable performance for future jobs.
Essential maintenance steps:
- Clean screed with water straight after use
- Check screed board edge for damage before starting work
- Keep equipment in a dry place and protect metal parts with coating
Regular checks of all screeding components are vital. Ensure handles and fixings remain tight and working properly, as these are key to safe concrete levelling.
Store tools away from damp conditions to stop rust forming, particularly on aluminium or steel parts. A light coat of protective oil after cleaning guards against corrosion.
These straightforward maintenance habits not only extend tool life but also ensure your concrete finishing stays top-notch.
Frequently Asked Questions
Which Tool Is Used to Level off Concrete to the Top of the Form?
A screed is essential for levelling concrete to match the form’s height. This straight-edge tool, typically crafted from wood or aluminium, ensures an even surface when drawn across fresh concrete using a sawing motion.
What Is a Concrete Smoothing Tool Called?
A float is the standard tool for smoothing concrete surfaces. It’s available in various materials like steel, wood or magnesium, and comes in different sizes to suit your job. This essential bit of kit helps achieve a proper finish whilst preventing common mistakes in concrete work.
What Tool Is Used to Flatten up the Concrete to Have a Smooth Finish Before You Texture It?
Use a bull float for the initial levelling, then a hand float, and finish with a steel trowel to create a smooth concrete surface before texturing. These tools should be used in sequence to achieve the proper finish that’s standard on UK building sites.
What Is a Concrete Darby Used For?
A concrete darby levels freshly poured surfaces with precision. This handy tool smooths out high spots and fills any voids, creating an even surface ready for final finishing. Much like ironing a wrinkled shirt, the darby ensures a consistently flat concrete surface.
Conclusion
The right screeding tool, whether a manual screed or power screed, is essential for achieving level concrete surfaces. Much like a builder’s spirit level ensures precision, these tools create perfectly flat concrete tops. Keep tools clean and well-maintained, stick to proper technique, and watch for common errors. Sound workmanship shows in the end result.

Learn about the diverse types of concrete used in construction and discover which mix can transform your next project.

For a long-lasting driveway that laughs in the face of the UK's unpredictable weather, the C20 concrete mix is your Read more

In the UK, you've got a a lot of lightweight concrete types to choose from, each with its unique perks. Read more