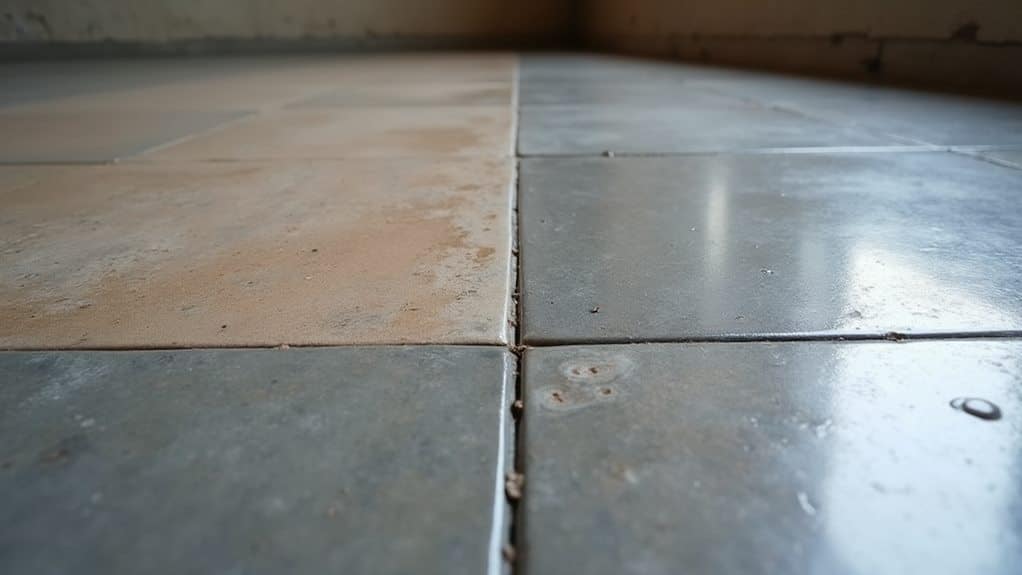
Sealing painted concrete requires proper preparation – first clean the surface with TSP cleaner and lightly sand with 320-grit sandpaper.
Select a suitable sealer like polyurethane or acrylic that matches your paint type, and ensure the surface is bone-dry before starting.
Much like painting a garden fence, apply thin, even coats that slightly overlap using either a roller (ideal for smaller areas like garage floors) or a sprayer for larger spaces such as driveways.
Leave 6-12 hours between coats, then allow 72 hours for thorough curing.
Multiple coats offer the best protection, and good ventilation is essential throughout.
These time-tested steps will ensure your painted concrete stays protected for years to come.
Key Takeaways
Clean the painted concrete surface using TSP cleaner (trisodium phosphate) and let it dry fully. Give it several hours in dry weather for best results.
Select a sealer that matches your paint type – check the tin or ask at your local DIY shop. Apply two thin coats, much like painting a wall.
Apply with a good-quality roller or garden sprayer, using overlapping strokes. Switch directions between coats (first north-south, then east-west) for even coverage.
Leave 6-12 hours between coats, about the same time you’d wait between paint layers. Then allow three full days of curing before regular foot traffic or furniture placement.
Keep the sealed surface in top form by cleaning with pH-neutral products (like those used for stone floors). Re-seal every 1-3 years, depending on wear and tear – high-traffic areas may need yearly treatment, whilst sheltered spots can go longer.
Benefits of Sealing Painted Concrete
Benefits of Sealing Painted Concrete
Sealing painted concrete offers vital benefits that protect both your investment and surface quality. A proper sealant creates a protective barrier that boosts durability by blocking moisture and chemical damage. This barrier shields both paint and concrete from harsh weather and daily wear.
Due to concrete’s natural grip and strength, a sealed surface remains safe whilst maintaining its protective qualities. The sealant’s protection reduces everyday maintenance needs. Sealed surfaces gather less dirt and are much easier to clean.
You’ll save money on repainting costs, as the paint stays intact longer under the protective layer. Your concrete will look better after sealing. The sealant creates a professional finish that brightens colours and adds an attractive sheen.
This protection prevents common problems like frost damage and surface wear that often affect unsealed concrete, particularly during British winters.
Essential Tools and Materials
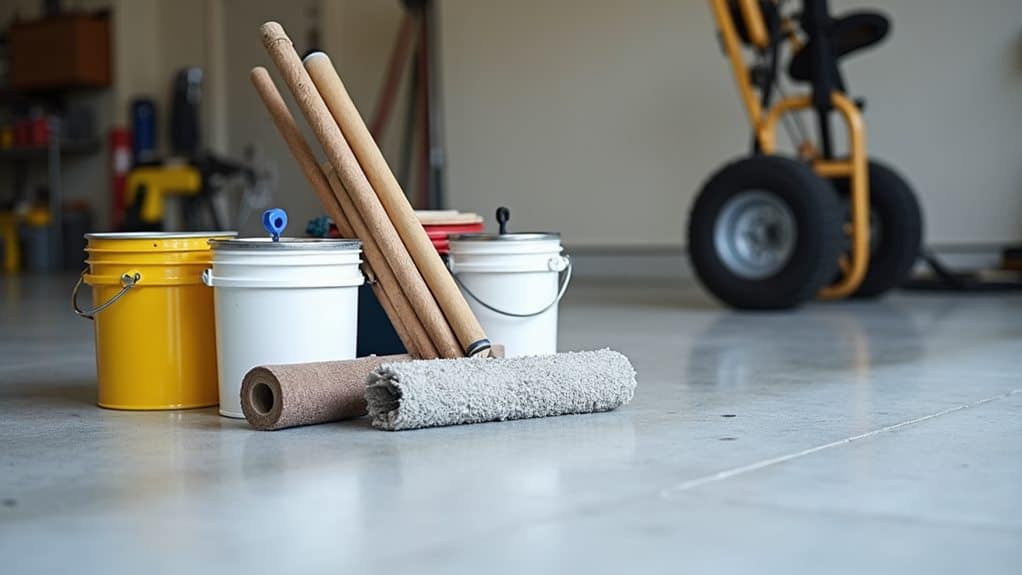
Essential Tools and Materials Checklist:
A professional concrete sealing project requires proper equipment for the best results. Key items include:
Application Tools:
- Quality paint roller or sprayer for main coverage
- Paintbrush for edges and corners
- Paint tray
Surface Preparation:
- Trisodium phosphate (TSP) cleaner
- Floor buffer with polishing pad or 320-grit sandpaper
- Tape measure
Safety Equipment:
- Respirator mask
- Safety goggles
- Protective gloves
Sealing Materials:
- Concrete sealer (polyurethane or acrylic)
- Mixing containers for multi-component sealers
Most DIY shops and building merchants stock these items.
For large areas, a sprayer works best, whilst a roller suits smaller spaces.
Remember to measure your area carefully to buy enough sealer – it’s better to have slightly too much than too little.
Surface Preparation Steps

Clean the painted concrete thoroughly using a degreaser or pressure washer to remove dirt, stains and loose debris that might affect the sealer’s grip.
Test the surface moisture by performing a plastic sheet test – wait 24 hours to check for condensation, aiming for moisture content below 5%.
Lightly sand the painted surface with 320-grit sandpaper and ensure the existing paint has properly dried for 3-4 days before sealing.
Clean and Inspect Surface
Clean and inspect your concrete surface properly before sealing – it’s essential for lasting results.
Start by sweeping thoroughly to remove all loose debris and dirt that could affect the sealer’s grip. Make sure the surface is completely dust-free.
Check carefully for any damage like cracks, chips or flaking concrete. Sort these problems first – they won’t fix themselves under the sealer.
Use a pressure washer or specialist concrete cleaner to tackle stubborn oil and grease marks, as these will stop the sealer from bonding properly.
After cleaning, let the surface dry completely. For best results, the concrete’s moisture level should be 5% or less.
You can check this easily by sticking a small piece of cling film to the surface – if water droplets form underneath after 24 hours, it needs more drying time.
Getting this right prevents the sealer from peeling off later.
Remove Previous Coatings
Remove Old Coatings
Before applying a new sealer, strip any existing coatings from your painted concrete surface. Start by pressure washing the area to remove dirt, grease and debris that could affect the removal process and bonding.
You can remove old coatings in two ways. The first is using a chemical stripper – simply apply according to the label and scrape away the loosened paint. The second method uses mechanical removal with sandpaper or a power sander to physically remove the old paint.
After removing old paint layers, prepare the surface for the new sealer. Use muriatic acid or a concrete grinder to etch the surface, creating a rough texture for better adhesion.
Before sealing, check for moisture by taping plastic wrap to the surface. If you spot condensation after 24 hours, let it dry further to ensure proper bonding.
Test Moisture Levels
Testing moisture levels is essential before sealing painted concrete. Your concrete surface mustn’t hold excess moisture, as this can ruin the sealer’s performance and durability.
For new concrete, ensure moisture content stays below 9%. Use a moisture metre for accurate readings of internal moisture.
With previously painted surfaces, allow 3-4 days after painting for proper curing before checking moisture levels.
A simple test involves taping plastic wrap to a small area of concrete for 24 hours. If there’s no condensation under the plastic, you’re good to go.
This check helps prevent common problems like peeling or bubbling sealant – much like checking if a wall is dry enough before hanging wallpaper.
Don’t skip this step, as proper moisture testing prevents costly repairs later.
Choosing the Right Sealer

Choosing a concrete sealer from the many available in the UK market needs careful thought about your paint type and purpose. Your existing paint must be compatible with your chosen sealer for proper protection.
For high-traffic areas, Sika Sikafloor Proseal W works well – it’s a water-based acrylic that guards against stains and moisture whilst remaining tough.
If you need chemical resistance, Rustoleum EpoxyShield Clear Sealer Primer 5220 is ideal, though you’ll need two coats of this water-based formula.
Centrecoat All Surface Protector is a solid choice for painted surfaces, offering both waterproofing and stain resistance.
Whatever sealer you pick, allow at least 16 hours curing time before using the surface.
Best Application Techniques

Choosing between rollers and sprayers?
Rollers provide better control and even coverage, whilst sprayers work faster on large areas.
Apply the sealer using thin, overlapping strokes to avoid puddles and ensure uniform protection across your painted concrete.
When applying multiple coats, switch direction by 90 degrees between layers and let each coat dry fully.
This approach delivers lasting results worthy of a professional finish.
Roller Versus Spray Methods
Two main methods exist for applying concrete sealers: roller and spray techniques, each suited to different jobs.
Roller application offers better control and creates a thicker, more even coat that fills surface textures properly. Coverage typically reaches 100-150 square feet per gallon, and the controlled film thickness ensures better durability. This method works particularly well for sealed painted concrete where evenness matters most.
Spray application covers large areas faster, often managing 200-300 square feet per gallon. Whilst it provides a smooth finish without brush marks, it requires more skill for even coverage. Proper ventilation is essential, and you must wear protective gear to guard against airborne particles.
Remember to mask surrounding areas to prevent overspray damage. Keep in mind that spray application often results in thinner coats, potentially requiring extra layers for full protection.
Remember that both methods have their place – rollers for precision work like garage floors, and spraying for larger projects like driveways or industrial spaces. Choose based on your project size, timeline and required finish quality.
Multiple Coat Coverage Tips
Applying multiple sealer coats requires proper timing and technique for best results. You’ll need at least two coats for adequate coverage and protection. Choose a quality brush, roller or low-pressure sprayer to ensure even coverage across your surface.
Keep each coat thin to avoid drips and maintain consistency. Wait 6-12 hours between coats, following your product’s specific guidelines. The first coat must be completely dry before applying the second, which usually means waiting 24-48 hours. Don’t rush this – doing so could cause the sealer to peel or lift.
Check your product’s instructions for exact drying times and application methods. Weather plays a big part in curing times, so keep an eye on temperature and humidity levels.
When laying multiple coats, use steady pressure and consistent overlapping strokes – think of painting a fence with even, methodical movements. This careful approach will give you a tough, professional finish that properly protects your painted concrete.
Drying and Curing Times

Drying and Curing Times for Concrete Sealing
Proper drying and curing periods are crucial for a lasting sealed finish on painted concrete. Allow new concrete to cure for at least 28 days after installation. This waiting period ensures the concrete reaches full strength and reduces moisture levels.
| Surface Type | First Coat | Full Cure |
|---|---|---|
| Fresh Paint | 12-24 hours | 72 hours |
| Epoxy Paint | 6 hours | 3 days |
| Sealant | 16 hours | 72 hours |
For multiple coats, each layer must dry thoroughly before the next application. Standard paint needs 12-24 hours between coats to prevent peeling and ensure proper bonding. Two-pack epoxy paints have specific requirements: 6 hours drying time for the first coat, followed by a 3-day curing period before foot traffic is allowed. After applying the final sealant coat, wait 72 hours minimum before heavy use. Common products like Sika Sikafloor Proseal W require at least 16 hours before the area can be used.
Common Sealing Mistakes
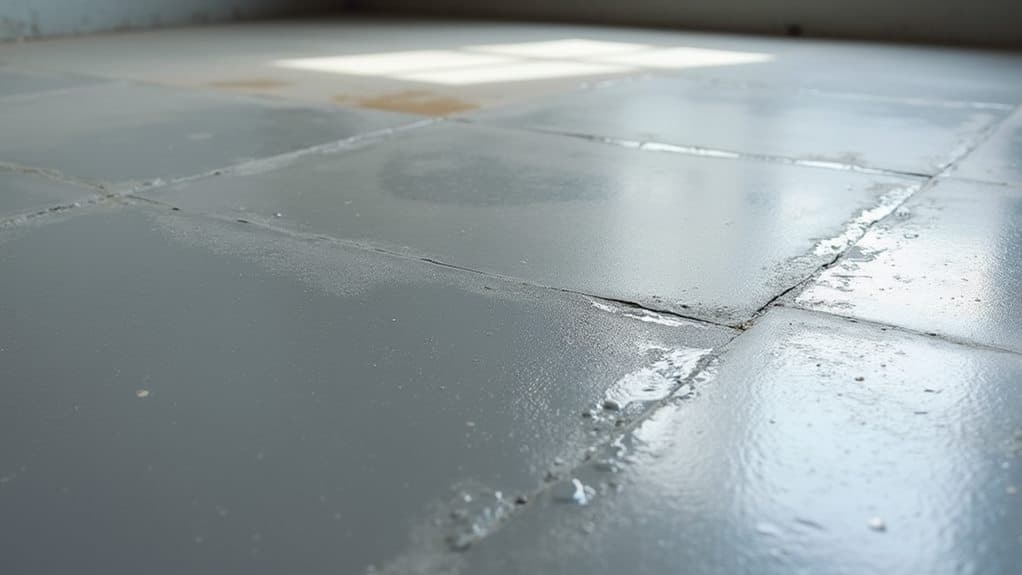
Common Sealing Mistakes
Even DIY enthusiasts can make crucial mistakes when sealing painted concrete, risking the project’s outcome. Several key errors need avoiding to ensure proper adhesion and durability.
Poor surface preparation tops the list of common blunders. The painted surface must be spotless before sealing, as any grime will stop the sealer from sticking properly.
Similarly, rushing to seal before paint has properly dried (usually 3-4 days) is a recipe for disaster.
Key mistakes to avoid:
- Applying overly thick coats
- Not using primer on porous surfaces
- Ignoring manufacturer’s recommended drying times
Success relies on following the product instructions precisely. Over-applying sealer often leads to a cloudy finish that ruins the paintwork underneath.
Think of surface preparation as laying the foundations of a house – get it wrong, and everything built on top becomes unstable.
The process isn’t complex, but it requires attention to detail and patience. Many UK DIYers rush the job on a sunny weekend, only to find themselves redoing it months later.
Proper cleaning, priming when needed, and careful application make all the difference between a professional-looking finish and a disappointing result.
Maintenance and Care Tips
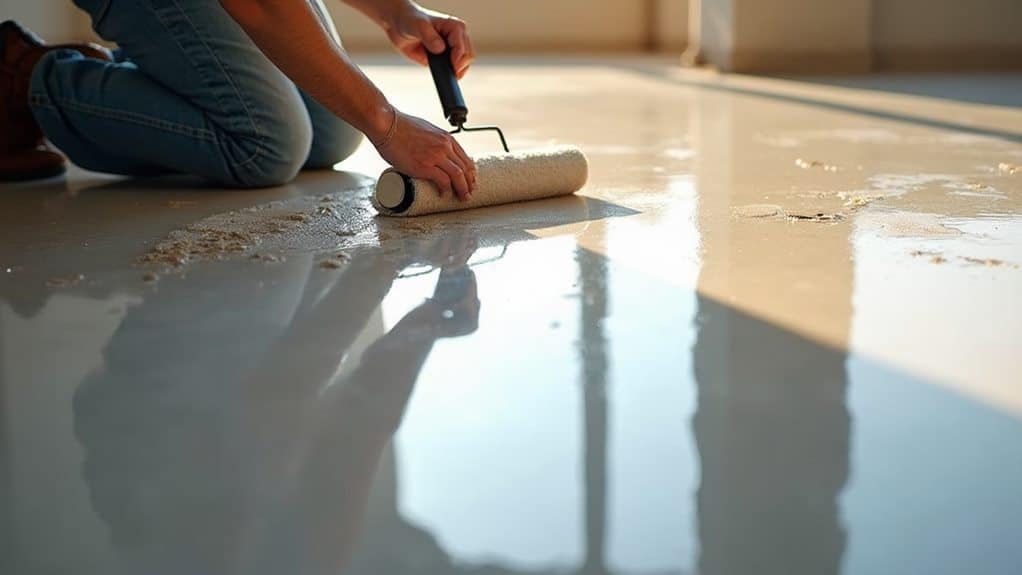
Maintenance and Care Guide
Sealed painted concrete surfaces maintain their appearance and protective qualities for years with proper care. Clean regularly using pH-neutral products to prevent dirt build-up and protect the sealant.
Well-maintained concrete flooring proves cost-effective over time, particularly due to its robust nature. Avoid using harsh chemicals and scouring products, as these damage both sealant and paint.
Check surfaces periodically for signs of wear. Clean spills straightaway to avoid staining that could mar the finish.
The sealant wears down gradually, requiring reapplication every 1-3 years based on foot traffic and weather exposure.
Keep the surface free from debris through regular sweeping and gentle cleaning to prevent scratches. Use soft mops or cloths instead of rough materials.
Should you notice patches where the sealant looks thin or lacklustre, tackle these areas promptly to ensure continuous protection of your painted concrete.
Professional Vs DIY Sealing

Professional vs DIY Sealing
Choosing between professional and DIY concrete sealing depends on your budget, skill level and end goals.
Professional sealing offers clear benefits through access to industrial-grade products and specialist equipment, ensuring better durability and even coverage. For big projects, professionals can handle large-scale applications of up to 80 cubic metres per hour with their equipment.
DIY methods can save money if you’re prepared to spend time on proper preparation and application.
Key differences to consider:
- Professional services use commercial-grade sealants that cure faster and last longer
- DIY projects need thorough surface preparation and extra drying time
- Professional work typically includes warranties and quality guarantees
For DIY work, you’ll need to focus heavily on surface preparation and buy quality materials for best results.
While shop-bought sealers won’t match professional products, they can still protect your concrete adequately when applied correctly.
For high-traffic areas or when you need guaranteed results, professional services offer expertise, better tools and superior products.
The higher upfront cost often pays off through longer-lasting protection and better performance.
Frequently Asked Questions
Can You Seal Concrete That Has Been Painted?
Yes, you can seal painted concrete, though it requires proper preparation and compatible products. Ensure the painted surface is clean, dry and sound before applying any sealer. Common UK garage floor paints, for instance, work well with most concrete sealers. Let newly painted surfaces cure for at least 24-48 hours before sealing. Choose a sealer that’s suitable for painted surfaces – your local DIY shop can advise on the best options for your specific situation.
How Do You Keep Paint From Peeling off Concrete?
Proper surface preparation and the right paint choice are essential to stop peeling on concrete. Start by thoroughly cleaning the surface, removing any loose bits and old paint. Choose concrete-specific paints suited to British weather conditions, and ensure the surface is bone-dry before starting. Match your paint to the concrete’s texture – rougher surfaces need thicker coatings, whilst smooth ones work well with standard masonry paint.
How Do You Maintain Painted Concrete?
Maintain your painted concrete’s lifespan through regular cleaning with gentle soap solutions. Check for paint damage routinely, sort out any chips or flaking straight away, and steer clear of aggressive cleaners. Ensure water drains properly, and top up the sealant every 2-3 years to keep the surface protected. Think of it like maintaining your car’s paintwork – regular care prevents bigger problems later.
How Do You Seal Concrete Without Changing Color?
Use a water-based concrete sealer labelled for colour preservation. Thoroughly clean and prepare the surface before applying thin, even coats with proper technique. Always test the sealer on a discrete patch first to ensure it doesn’t react with any existing paint or treatments.
Conclusion
Sealing painted concrete serves as a protective barrier that safeguards your investment. Proper surface preparation, selecting a compatible sealer and maintaining consistent application are essential. Much like applying sunscreen before a day outdoors, sealing creates a protective layer that shields against daily wear, British weather and UV damage. Once you’ve completed the technical steps and allowed proper drying time, your concrete surface will be durable enough to withstand regular footfall and our particularly damp climate.
Need concrete mixed & delivered?
Barrow Mix delivers volumetric ready-mix concrete across Greater Manchester & Cheshire — mixed fresh on site, barrowed or pumped to the pour, from as little as ½m³. You only pay for what you use.
Ordering concrete in Greater Manchester or Cheshire? Working on a concrete floor? We supply the ready-mix for floors and slabs, poured or pumped to suit your site.

Learn about the diverse types of concrete used in construction and discover which mix can transform your next project.

For a long-lasting driveway that laughs in the face of the UK's unpredictable weather, the C20 concrete mix is your Read more

In the UK, you've got a a lot of lightweight concrete types to choose from, each with its unique perks. Read more